This article recommends 7 top-grade Screencastify alternatives for smooth screen and video capture, including MiniTool Screen Recorder, Xbox Game Bar, Snipping Tool, Clipchamp, Loom, Snagit, and ScreenPal. A practical tutorial is also provided to demonstrate the essential steps for screen recording.
What Is Screencastify
Screencastify is an easy-to-use screen recording extension designed specifically for the Chrome browser. Users can quickly record their screen, edit recordings, and share them directly in the browser, without installing any additional software.
Key Features of Screencastify:
- Support recording the full screen, specific windows, and the webcam.
- Offer built-in editing capabilities.
- Provide video translation functionality.
- Support one-click quick sharing.
However, Screencastify does have certain limitations; for instance, it is available exclusively as a Chrome extension and cannot be used on other browsers. Furthermore, while testing the free version of Screencastify, I discovered that it not only imposes a five-minute recording limit but also adds a watermark to the videos.
Consequently, I sought out the following 7 professional video recorders to serve as alternatives to Screencastify:
- MiniTool Screen Recorder
- Xbox Game Bar
- Snipping Tool
- Clipchamp
- Loom
- Snagit
- ScreenPal
7 Powerful Screencastify Alternatives
Here is a comparison table designed to help you quickly understand these alternatives to Screencastify.
| Tool | Free Version | Watermark | Recording Time Limits |
| MiniTool Screen Recorder | Yes | No | No |
| Xbox Game Bar | Yes | No | 4 hours |
| Snipping Tool | Yes | No | No |
| Clipchamp | Yes | No | 30 minutes |
| Loom | Yes | No | 5 minutes (free version) |
| Snagit | Free trail | No | No |
| ScreenPal | Yes | Yes (free version) | 15 minutes (free version) |
#1 MiniTool Screen Recorder
MiniTool Screen Recorder is a free and user-friendly Windows screen recorder. In my opinion, it is one of the best free Screencastify alternatives. With MiniTool Screen Recorder, users can not only record the full screen, a specific window, or a selected area, but also maintain complete control over the recording of system audio and microphone.
Furthermore, MiniTool Screen Recorder offers advanced recording features. It offers a webcam recording feature and allows users to utilize annotation tools during the recording process to highlight key information on the screen. This enables users to create engaging picture-in-picture videos as well as clear and concise tutorials.
What’s more, before I start recording, I can customize MiniTool Screen Recorder’s settings. For example, changing the output path, selecting video quality and frame rate, modifying recording shortcuts, adjusting camera settings, and more.
Additionally, MiniTool Screen Recorder supports pre-setting the recording time, allowing it to automatically stop recording once the specified time is reached; this helps prevent video files from becoming excessively large due to forgetting to end the recording. In short, MiniTool Screen Recorder is a powerful tool for recording any activity on the screen.
Pros:
- Easy to use for beginners.
- No watermark and recording time limits.
- Provide basic and advanced recording features.
- Suitable for basic and professional recording.
Cons:
- Only available on Windows systems.
#2 Xbox Game Bar
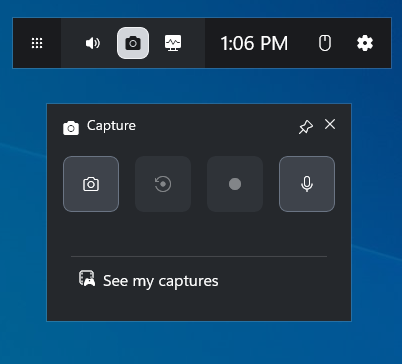
Xbox Game Bar is an overlay tool built into Windows. Primarily designed for gamers, it aims to provide them with convenient recording and social features. Meanwhile, Xbox Game Bar allows users to record specific applications and windows, and offers control over audio recording.
Furthermore, Xbox Game Bar is not only completely free, but it also requires no manual installation by the user. What’s more, the tool is extremely simple to operate: players need only press the Windows + G keys combination to launch the screen recording feature quickly.
To my pleasant surprise, Xbox Game Bar also supports custom settings, allowing users to choose to record the last 30 seconds of gameplay or set a maximum duration for a single recording session. Meanwhile, it enables users to select their preferred recording frame rate and video quality.
Pros:
- Completely free.
- Easy to use.
- No watermark.
- No installation required.
- Better suited for basic recording.
Cons:
- Do not support recording the desktop and File Explorer.
- Recording of specific areas is not supported.
- The recording duration is limited to 4 hours.
#3 Snipping Tool
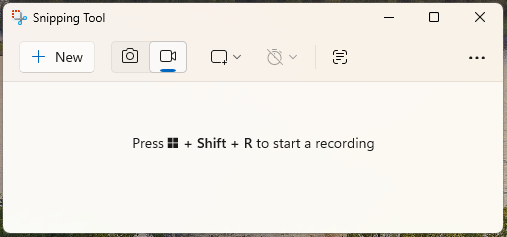
The Snipping Tool is also built into the Windows operating system, which is one of the programs like Screencastify. True to its name, it is a tool designed specifically for capturing static images. However, with the release of Windows 11, the Snipping Tool gained a screen recording feature.
Snipping Tool allows users to record their entire screen or capture only a specific, custom-selected area. Furthermore, this tool naturally supports recording both system audio and microphone audio simultaneously.
A primary reason I highly recommend the Snipping Tool is its seamless integration with the Microsoft suite. Once I have finished recording with the tool, I can jump directly into Clipchamp to perform in-depth editing and optimization of the captured video. Finally, I can either save the recording directly to the cloud or instantly share it to social media platforms.
Pros:
- Completely free.
- Easy to use.
- No watermark and recording time limits.
- Offer editing features.
Cons:
- Lack advanced recording features.
- Only available on Windows.
#4 Clipchamp
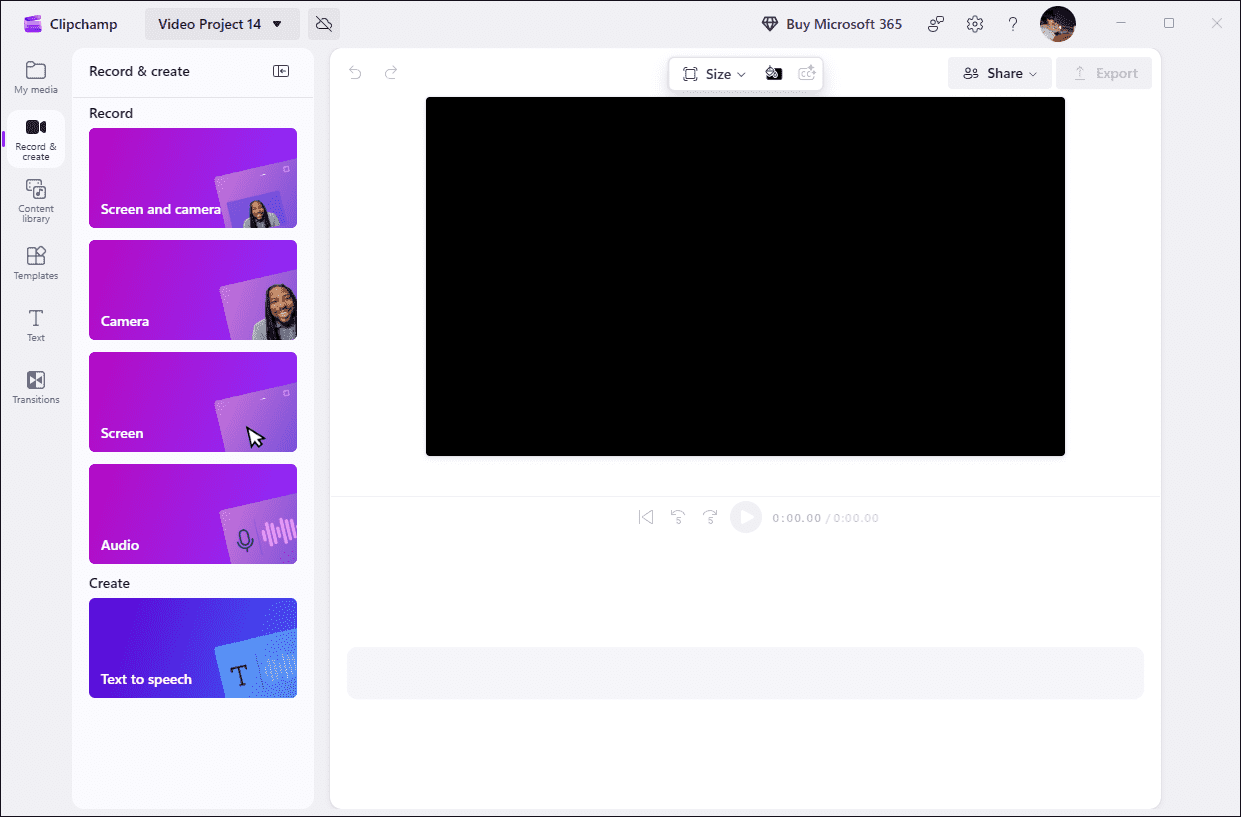
As is widely known, Clipchamp is a tool equipped with powerful editing capabilities. Furthermore, it serves as a professional screen recording tool. Currently, Clipchamp is available to users on both Windows and macOS systems. Meanwhile, a web-based version of the tool has been developed, designed to provide users with a seamless experience across multiple devices.
Compared to Windows' built-in Xbox Game Bar and Snipping Tool, Clipchamp offers more comprehensive recording capabilities. In addition to standard recording functions, the tool also allows users to record webcam footage and audio independently.
What I appreciate most about Clipchamp is how cleverly it integrates editing capabilities with recording functionality. Once a recording is complete, users can immediately add transitions, text, and filters, or even adjust the volume for the recorded video.
Furthermore, Clipchamp features a built-in AI-powered subtitle generator, allowing users to automatically generate subtitles for their recorded videos with just a single click.
Pros:
- User-friendly interface.
- No watermark.
- Available as both a web app and a desktop application.
- Feature powerful built-in editing tools.
- Support one-click sharing.
- Offer advanced recording capabilities.
Cons:
- Recording duration is limited to 30 minutes.
- Limited functionality in the free version.
#5 Loom
Loom is a cloud-based video communication tool featuring a built-in, practical screen recording function. It offers a comprehensive suite of basic recording capabilities, including screen, webcam, and audio recording, that effectively meet the demands of daily presentations and communication.
However, what I consider its most noteworthy feature is its convenient note-taking functionality. Before recording product demonstrations, tutorials, or operational walkthroughs, users can pre-populate key prompts and reminders. These notes serve as cues during the recording process, ensuring a smoother and more organized delivery.
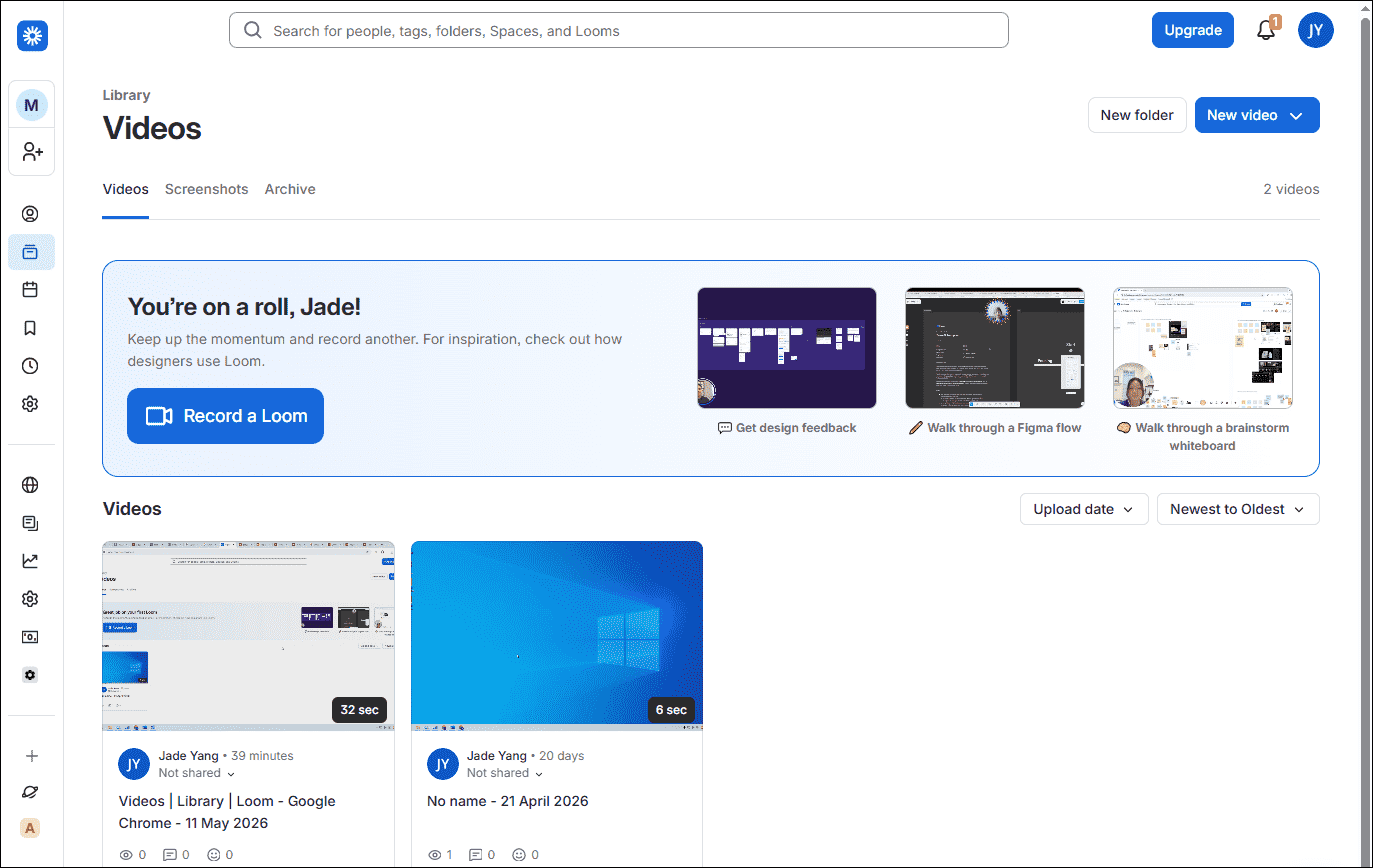
Furthermore, once a recording is complete, Loom supports further video editing and enhancement. It can automatically generate elements such as subtitles, content summaries, and transcriptions, thereby boosting the video's professional polish and accessibility.
Even more conveniently, Loom automatically generates a shareable link for each completed video. Users can share it with team members with a single click or post it directly to social media platforms like Facebook and X (formerly Twitter), significantly streamlining the collaboration and sharing workflow.
Pros:
- Simple and easy to use.
- No watermark.
- Offer cloud sharing capabilities.
- Include editing features.
- Support Windows, Mac, and Web platforms.
Cons:
- The free version is limited to a 5-minute recording duration.
- Part of the advanced features are available only in the paid version.
#6 Snagit
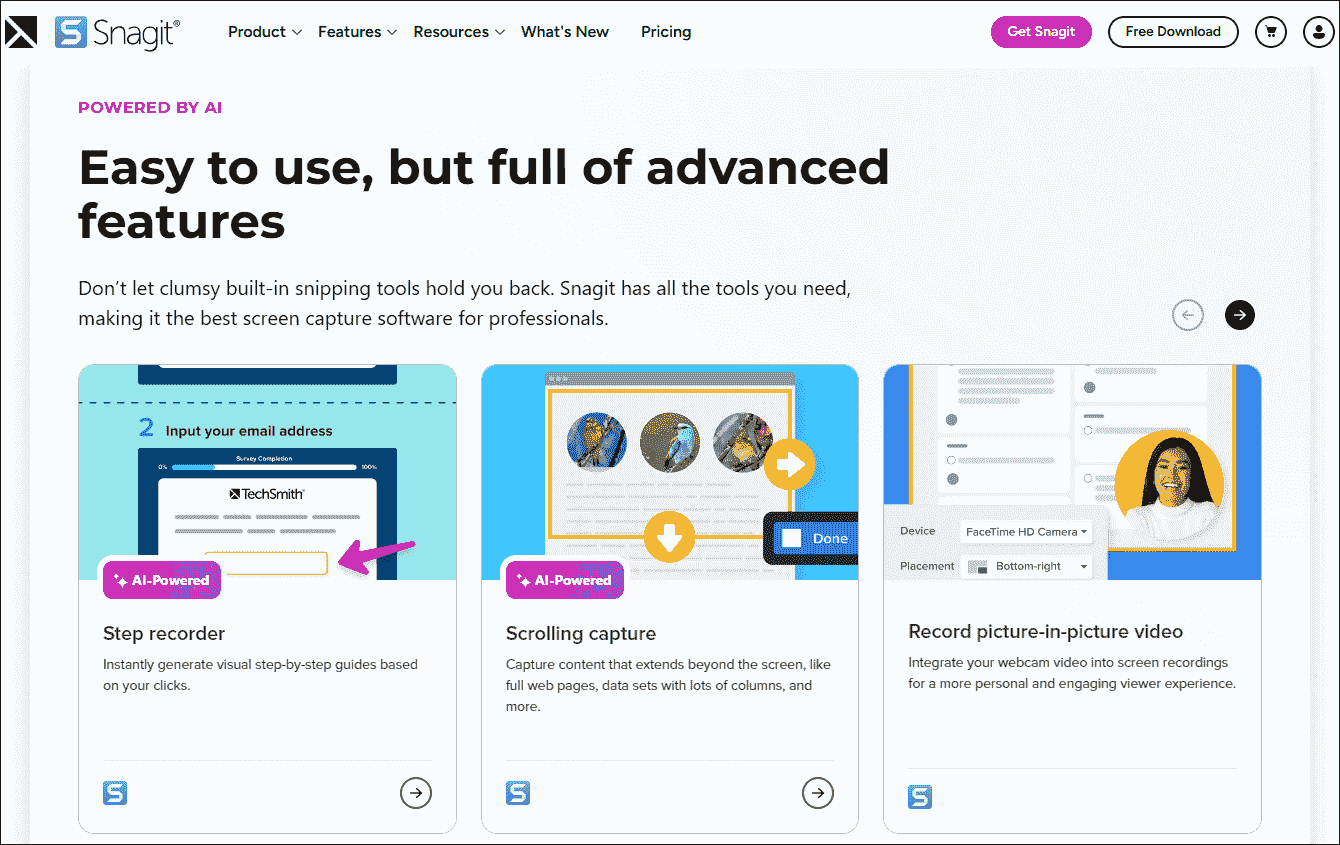
Snagit is a lightweight, paid Screencastify alternative available for both Windows and Mac systems. For users who frequently record office presentations or create tutorial videos, this tool is an absolute must-have.
In terms of recording capabilities, Snagit offers screen, audio, and webcam capture features. However, its most standout feature is its powerful annotation functionality, which allows users to directly add various explanatory elements, such as arrows, text, and step-by-step markers, during the recording process.
In addition to supporting the export of recorded videos in the highly compatible MP4 format, Snagit also allows users to create and save them as animated GIFs. Furthermore, the tool offers sharing capabilities, enabling users to share their screen recordings directly to platforms such as Slack, Google Drive, and Word.
Pros:
- No watermarks.
- No recording duration limits.
- Offer both basic and advanced screen recording features.
- Built-in annotation tools.
- Support one-click sharing to multiple platforms.
Cons:
- No free version.
#7 ScreenPal
ScreenPal (formerly Screencast-O-Matic) is an application that integrates screen recording and editing capabilities. It allows users to record their screen activity and webcam footage. However, it is worth noting that while the tool can capture both system audio and microphone audio, users must upgrade to a paid version to fully unlock and use this feature.
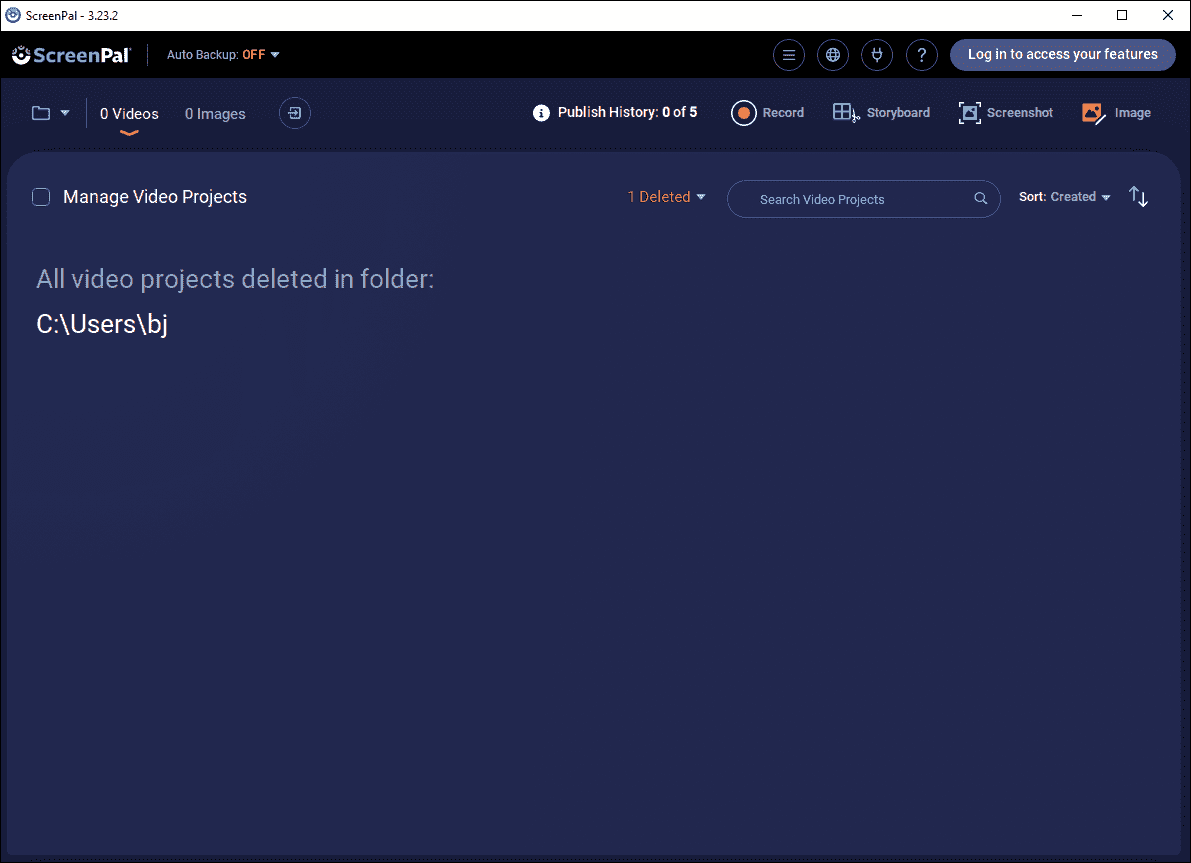
ScreenPal displays the mouse cursor's movement path during recording, making it well-suited for creating tutorial videos. In my view, compared to the tools mentioned earlier, this software offers a more extensive and comprehensive set of editing features.
For instance, beyond standard functions such as adding annotations, transitions, cropping, and trimming, ScreenPal allows users to blur or remove backgrounds, insert videos or images, add multi-language subtitles, and more. Furthermore, this tool supports saving recorded videos in MP4, AVI, FLV, GIF, and MP3 formats.
Pros:
- Simple and easy to use.
- Rich editing features.
- Support exporting to multiple formats.
Cons:
- The free version has a recording duration limit.
- The free version will add a watermark to recorded videos.
- The free version does not support recording system audio.
Overall, each Screencastify alternative possesses its own unique strengths and limitations. The final choice depends on your specific needs, budget, preferences, and other factors.
How to Screen Record with MiniTool Screen Recorder
Selecting a suitable alternative to Screencastify is merely the first step. Equally important is understanding how to utilize your chosen tool efficiently. This section will use MiniTool Screen Recorder as an example to illustrate the basic recording steps.
Step 1: Install MiniTool Screen Recorder and Launch It
MiniTool Screen RecorderClick to Download100%Clean & Safe
1. Click the button above to download MiniTool Screen Recorder. Then follow the on-screen instructions to install it on the PC.
2. Launch MiniTool Screen Recorder.
Step 2: Configure the Recording Settings
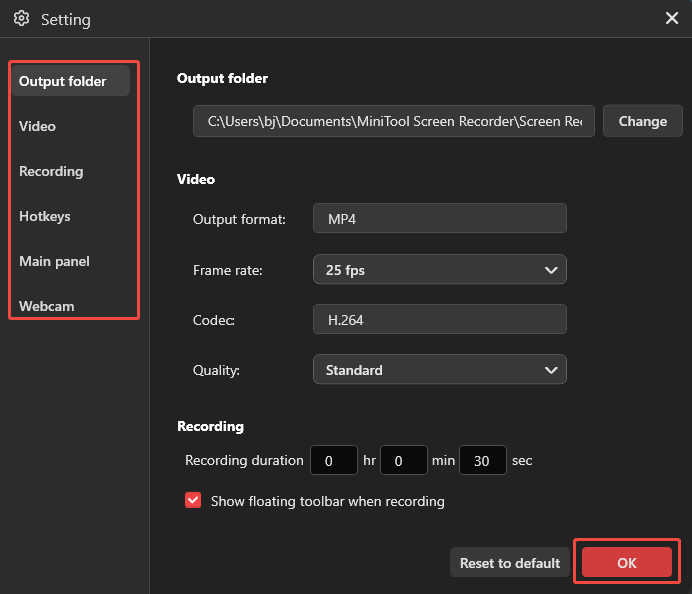
1. Click the Settings icon in the upper-right corner of the main interface.
2. On the Setting interface, I can navigate to the corresponding sections to adjust settings such as video recording quality, hotkeys, camera parameters, etc.
3. Then, click the OK button to save the changes.
Step 3: Choose the Recording Area
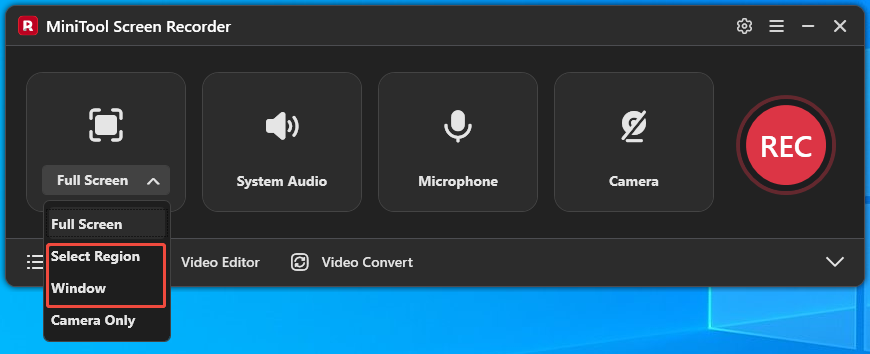
1. By default, MiniTool Screen Recorder captures the full screen.
2. I always choose the Select Region option and the Window option by expanding the drop-down menu of the Full Screen option.
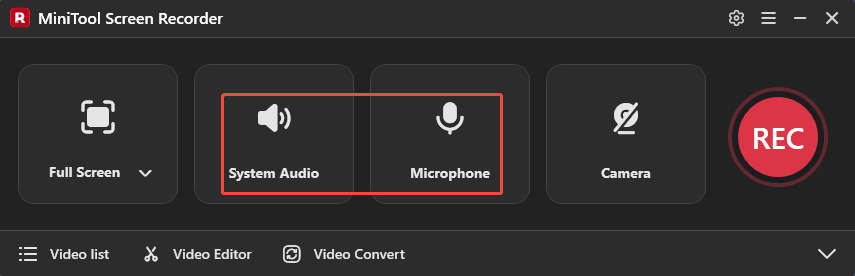
Step 4: Manage the Audio Settings
By default, this tool records both system audio and microphone audio simultaneously. To disable these two recording functions, click the System Audio icon and the Microphone icon, respectively.
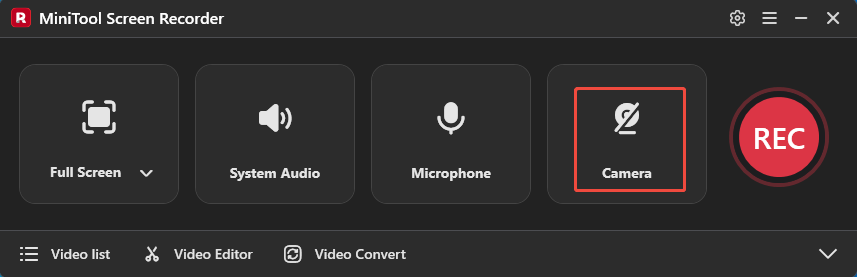
Step 5: Control Camera Recording
When I want to record my webcam footage while screen recording, I simply click the Camera icon to enable the webcam recording feature.
Step 6: Start and Stop Recording
1. Click the REC button or press the F6 key to start the recording process.
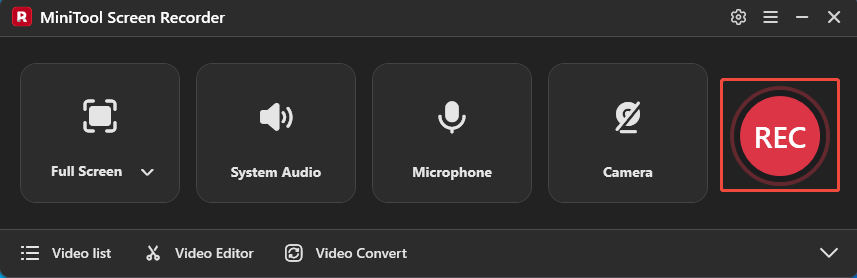
2. After a 3-second countdown, open the target interface.
3. Typically, during the recording process, I also use the annotation tools on the right side of the screen to circle key information.
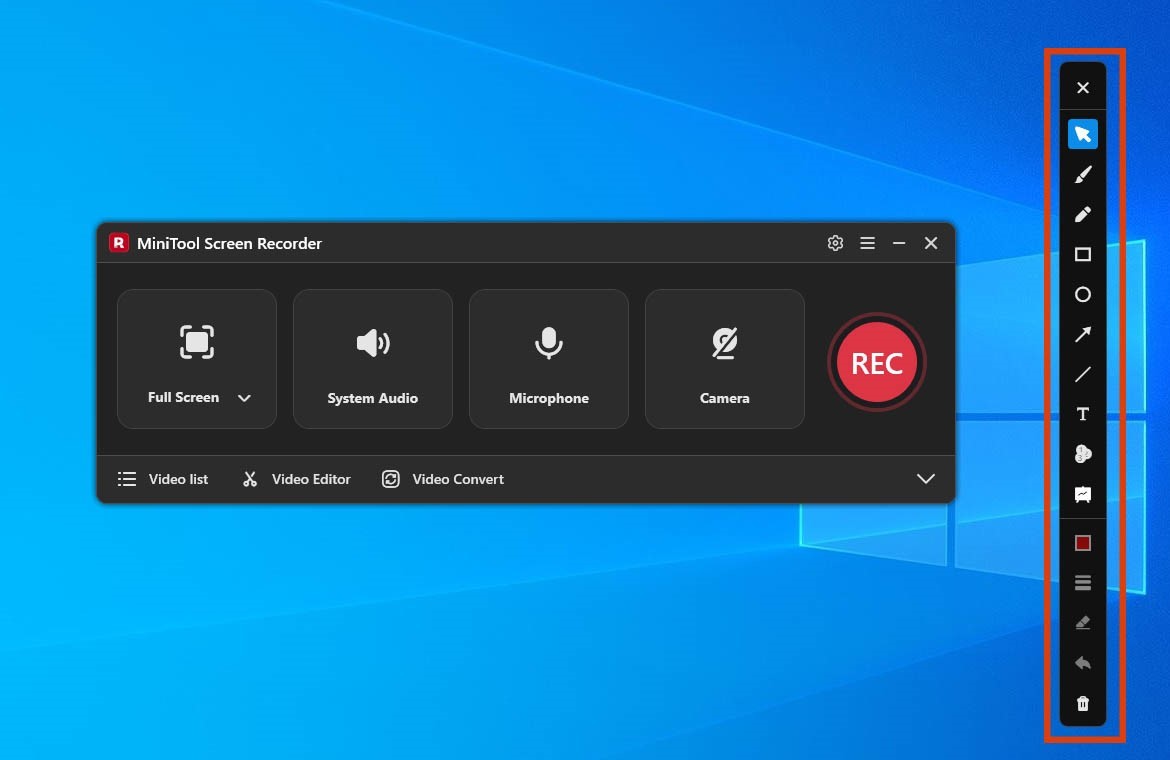
4. To end the recording process, press the F6 key again.
Step 7: Check and Locate the Recorded Video
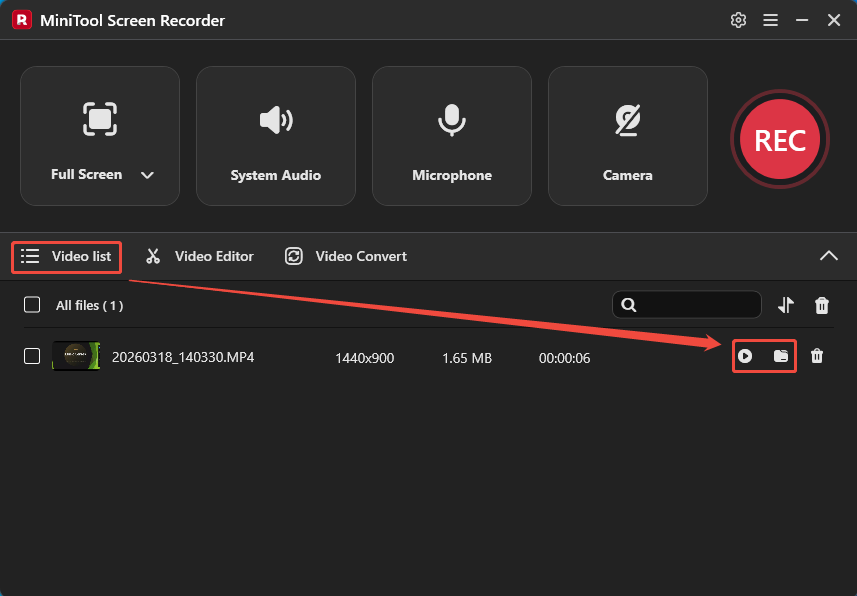
1. When the recording ends, this tool will automatically switch to the Video list section, where I can see the recorded video.
2. Then, I can click the Play icon to check the recorded video and click the Folder icon to locate it on the PC.
Final Words
This article provides 7 powerful Screencastify alternatives, including MiniTool Screen Recorder, Xbox Game Bar, Snipping Tool, Clipchamp, Loom, Snagit, and ScreenPal. In addition, a step-by-step guide is included to help users understand the basic screen recording process.
If you run into any issues when trying out MiniTool Screen Recorder, send an email to support@minitool.com.