How to record Slack Huddle? There is no built-in recording feature. This task requires the use of third-party Windows screen recorders such as MiniTool Screen Recorder or Clipchamp. Moreover, this article also explains how to optimize the recorded video with MiniTool MovieMaker.
Slack is a communication platform designed specifically for the workplace. It brings people, data, projects, and workflows together in a single interface, facilitating rapid communication among teams and boosting productivity.
In 2022, Slack introduced a new audio and video calling feature called Huddle. This feature is designed to facilitate impromptu communication and support employees working remotely. Unlike users on other platforms, Slack users don’t need a meeting invitation link; they can simply click the headphone icon to join a call.
Can Slack be Recorded?
The answer is absolutely Yes! Over the past few years, Slack Huddle has greatly streamlined my remote workflow. However, I find it regrettable that the feature does not include a built-in screen recording function. As a result, I am unable to review important video call details or save presentation sequences to optimize my work methods in the future.
That said, this does not mean it’s impossible to capture Slack Huddle calls. In my subsequent work, I’ve successfully achieved this using two third-party Slack screen recording tools, MiniTool Screen Recorder and Clipchamp.
Preparations Before Recording Slack Huddle
Before I explain how to record, I’d like to share some of the preparations I’ve made before recording. These are tips I’ve gathered from my own experience, designed to ensure the recording process goes smoothly.
#1 Ensure a Stable Internet Connection
Since we will be recording video calls in Slack Huddle, a smooth call experience can significantly improve productivity and the quality of the recordings. A stable internet connection is key to avoiding audio and video lag or stuttering during the recording process.
#2 Check the Audio Settings
During my previous recording session, I failed to turn on the audio settings. As a result, the recorded video had no sound, which prevented me from properly documenting my work. To avoid this, I always check beforehand to make sure the external microphone is properly connected and that the system audio is turned on.
#3 Close Other Applications
To avoid lag during recording or issues with Slack, I usually close all unnecessary applications, especially those that might be using the microphone or camera. This also prevents any pop-up windows from obscuring the video call screen while recording.
#4 Test the Camera
Before recording, I usually check the camera resolution, lighting, and framing to ensure the video call is clear. After all, high-definition video not only ensures recording quality but also makes it more enjoyable to watch later.
How to Record Slack Huddle
After a period of experimentation, I have found that screen recording tools featuring flexible recording areas and excellent audio control capabilities offer the most satisfying recording experience. MiniTool Screen Recorder and Clipchamp both possess these capabilities. The detailed explanations of their features and operating methods are provided below.
Recorder 1: MiniTool Screen Recorder
First and foremost, the most worth-trying tool is this free Windows screen recorder: MiniTool Screen Recorder. It has already secured a permanent spot in my workflow. The key reason MiniTool Screen Recorder is ideal for recording Slack Huddles lies in its audio control capabilities. I can choose whether or not to capture system audio while recording a video call, based on my specific needs.
Meanwhile, another feature of MiniTool Screen Recorder that I particularly appreciate is that it allows me to select exactly what to record: the entire screen, a specific region, or a particular window. Furthermore, this tool features a webcam recording function, which means I can also capture more reaction videos that include my face.
After using MiniTool Screen Recorder for a while, what surprised me most was its annotation feature. I often use this feature to highlight key points in real time during meetings when explaining workflows or solutions. This makes the meeting content much easier to understand when reviewing it later.
Other Features of MiniTool Screen Recorder:
- No watermarks and no time limits: The final video will not have a watermark added; there are no time limits on recordings.
- Customize recording settings: It supports me to configure hotkeys, video quality, frame rate, camera settings, and more before recording.
- Preset the recording duration: It allows me to set the recording duration before it begins.
- HD recording: It supports recording high-definition video in 4K quality.
Here are the steps on how to record a video in Slack using MiniTool Screen Recorder.
Step 1: Get and Launch MiniTool Screen Recorder
1. Click the button below to download MiniTool Screen Recorder. Then, follow the prompts to install it.
MiniTool Screen RecorderClick to Download100%Clean & Safe
2. Next, launch MiniTool Screen Recorder.
Step 2: Configure the Recording Parameters
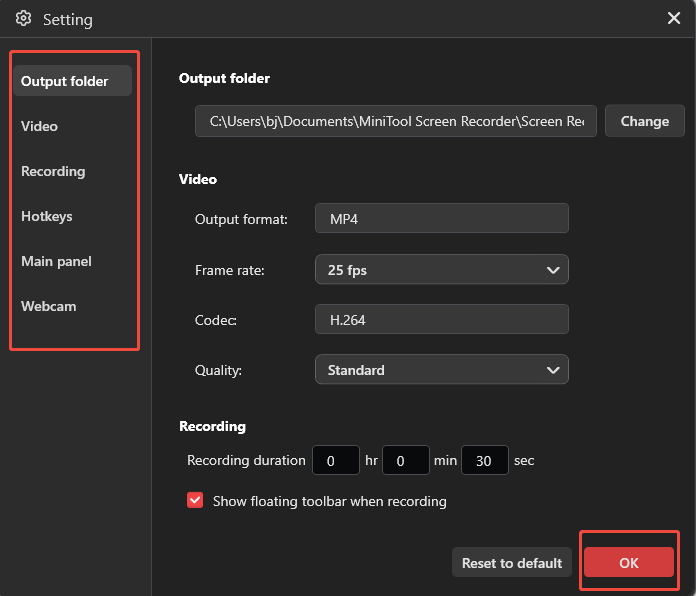
1. Click the Settings icon in the top-right corner of the main interface.
2. Then navigate to the relevant sections in the left-hand menu to adjust the video recording quality, set the recording duration, change the recording hotkeys, or adjust the camera settings, and so on.
3. Finally, click the OK button to save the changes.
Step 3: Choose the Recording Area
1. MiniTool Screen Recorder defaults to recording full-screen. To record a specific region and window, expand the dropdown menu next to the Full Screen option.
2. Then, select the Select Region option or the Window option.

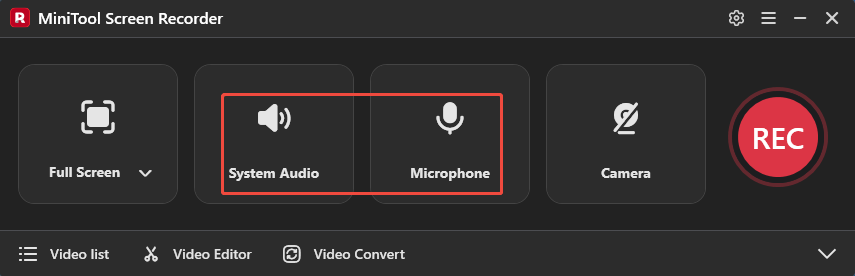
Step 4: Control the Audio
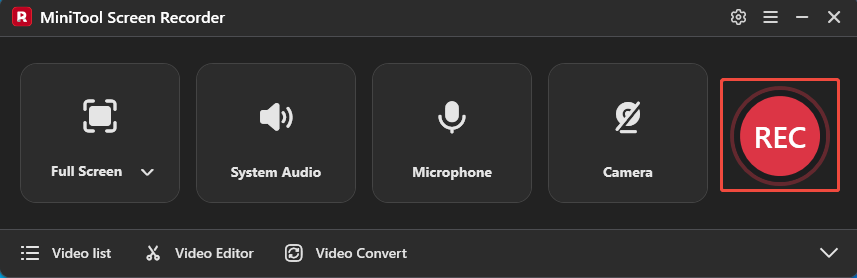
The system audio recording and microphone recording features are enabled by default. To disable them, click the System Audio icon and the Microphone icon respectively.
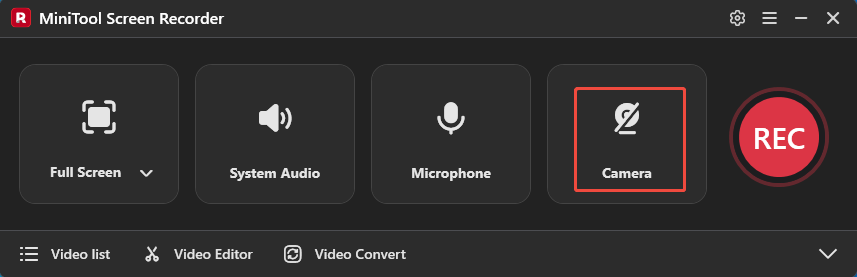
Step 5: Set the Camera Recording
The camera recording functionality is disabled by default. To turn it on, click the Camera icon on the right.
Step 6: Start and End Recording
1. Click the REC button or press the F6 key to start the recording process.
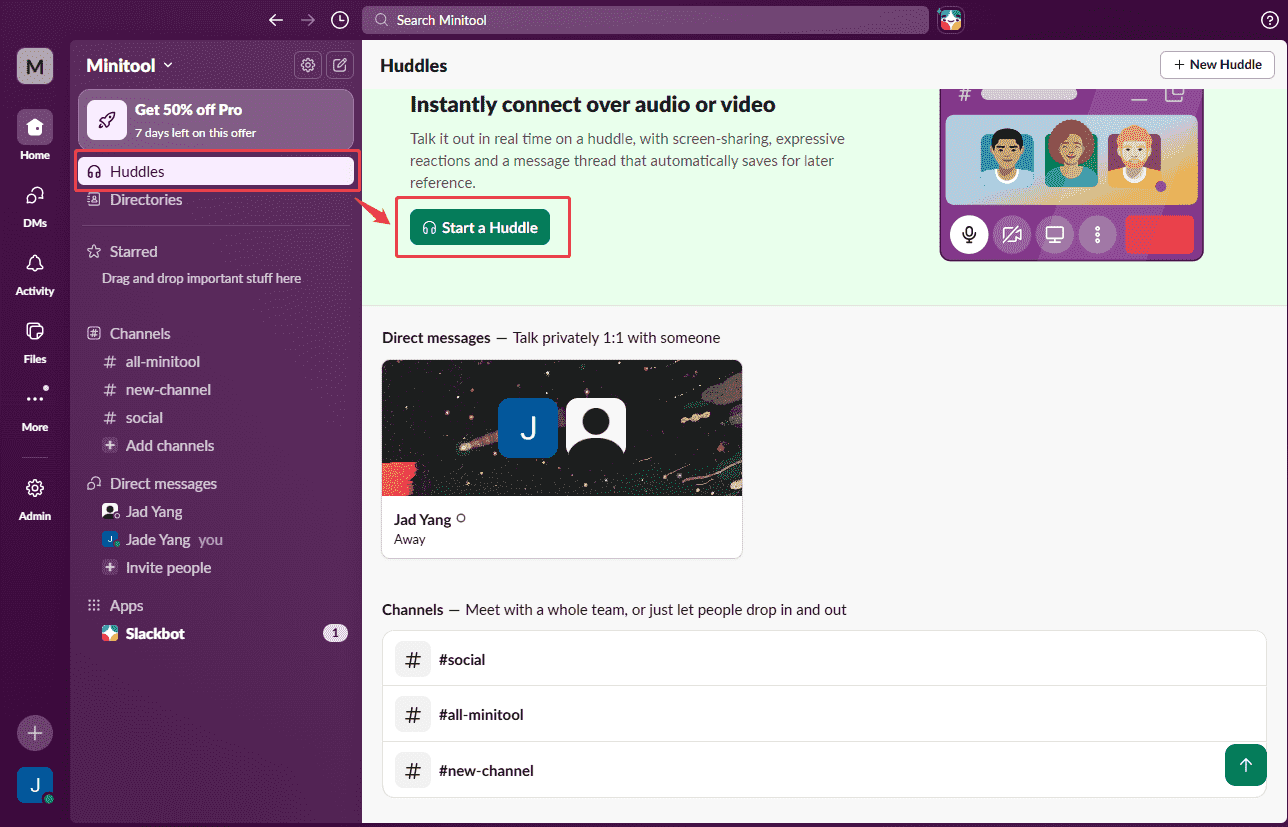
2. Launch Slack and switch to the Huddles section. Then, click the Start a Huddle option to begin the huddle.
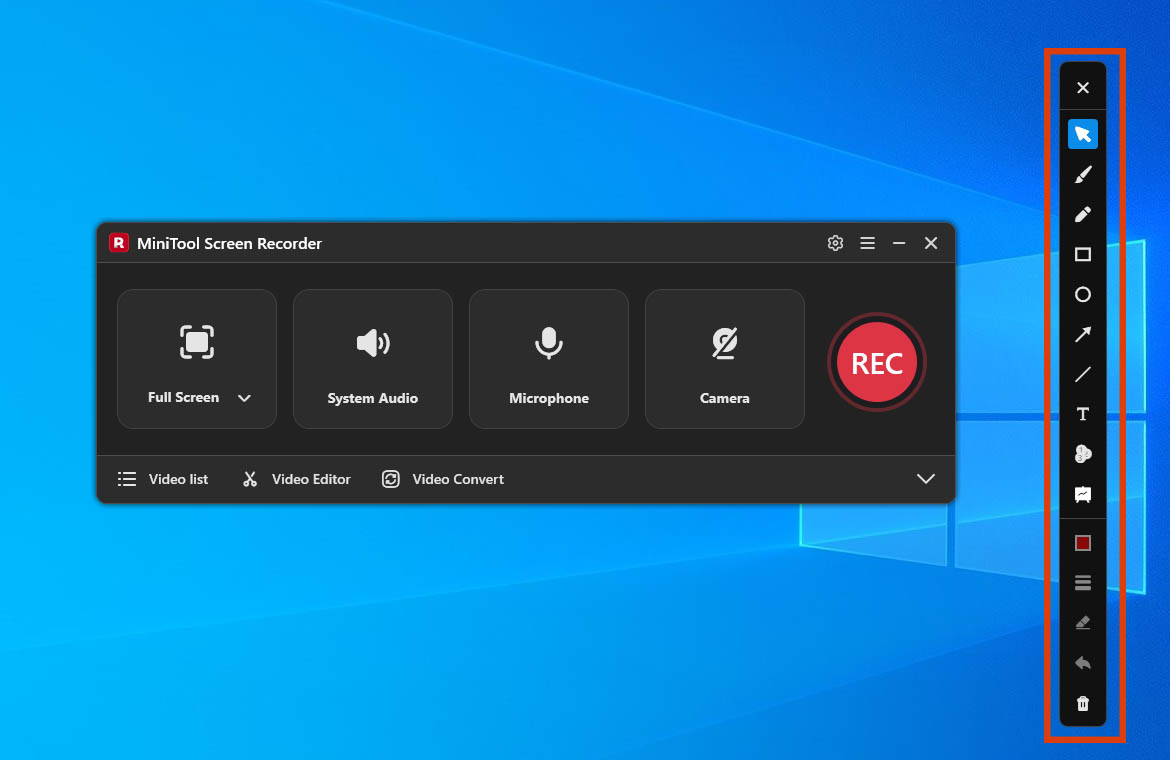
3. Sometimes I highlight key points during a call while recording. To use the annotation feature, simply select a tool from the annotation toolbar on the right side of the screen.
4. Once the Slack Huddle video call ends, press the F6 key again to end the recording process.
Step 7: Check the Recorded Slack Huddle Video
1. When the recording ends, MiniTool Screen Recorder will automatically switch to the Video list section, where the recorded video is listed.
2. To check the recorded Slack Huddle video, click the Play icon. Or click the Folder icon to locate it.

As mentioned above, MiniTool Screen Recorder offers a comprehensive set of features. To prove this point, I have since used it to successfully record longer live streams, online meetings, and reaction videos.
![How to Record on Snapchat Without Holding the Button [2 Ways]](https://images.minitool.com/recorder.minitool.com/images/uploads/2026/03/how-to-record-on-snapchat-without-holding-the-button-thumbnail.png)
Recorder 2: Clipchamp
Another option is Clipchamp, a Microsoft tool recommended to me by a friend. After trying it out a few times, I found that its recording features are also quite great. Clipchamp also offers flexible recording area options, allowing me to record full screen, a single window, or my webcam feed.
To my surprise, Clipchamp saved me a significant amount of storage space. It lets me save videos directly to OneDrive immediately after recording. Additionally, Clipchamp supports customizing the resolution when exporting videos.
I think one thing Clipchamp lacks is that its audio control feature isn’t as robust as those in MiniTool Screen Recorder. During a single recording session, the software combines system audio and microphone audio into a single audio track. As a result, I need to edit the audio during post-production.
What’s more, Clipchamp has a recording time limit: each recording session is limited to 30 minutes. If you can’t mind this, follow the instructions on how to record a Slack call with Clipchamp.
Step 1: Launch Clipchamp
Go to the Start menu, find Clipchamp, and open it.
Step 2: Switch to the Recording Interface
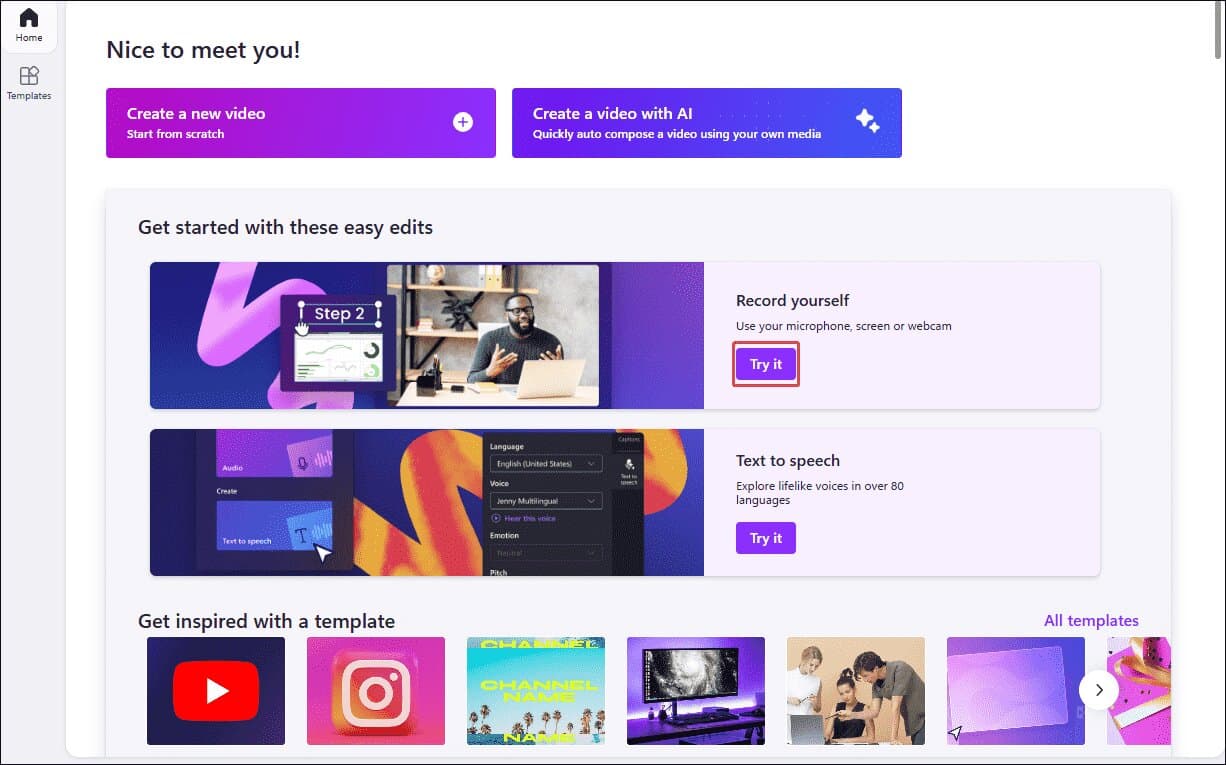
Click on Try it within the Record yourself option on the homepage to enter the recording interface.
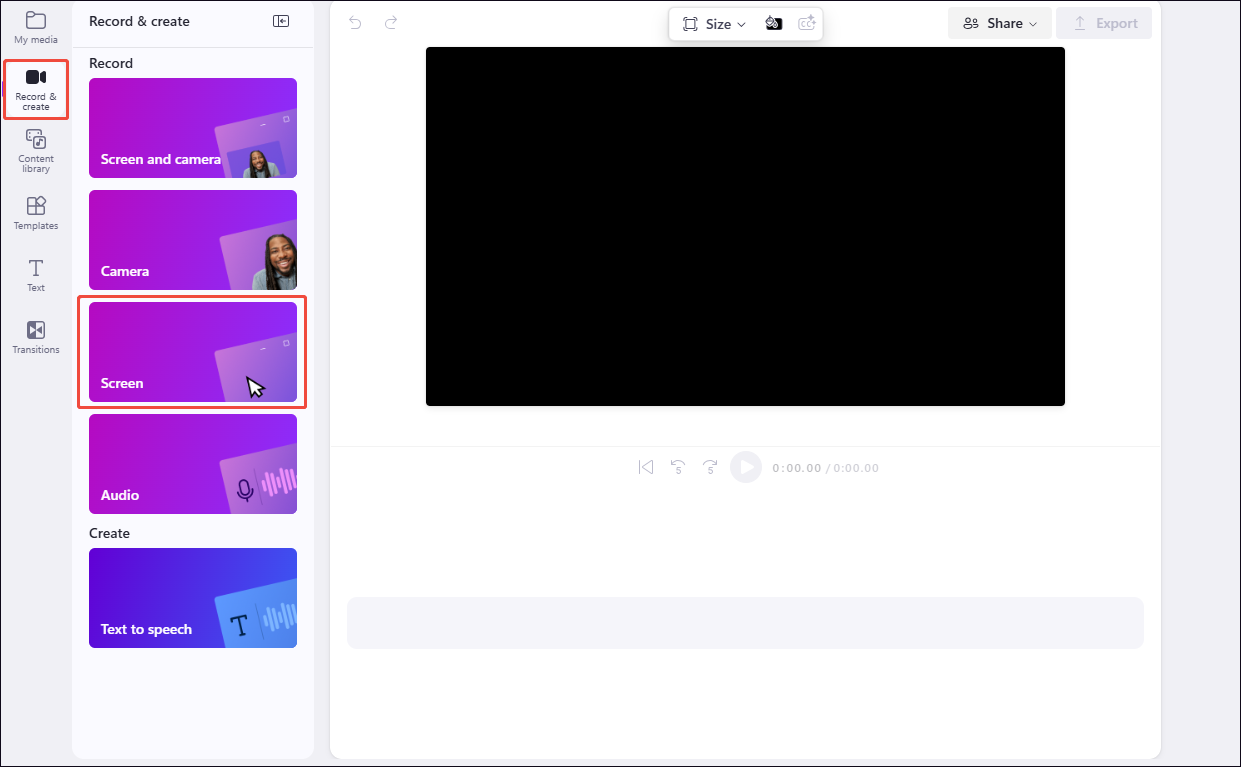
Step 3: Select a Recording Mode
Since I'm recording a Slack Huddle, select Screen as the recording mode under the Record & create section.
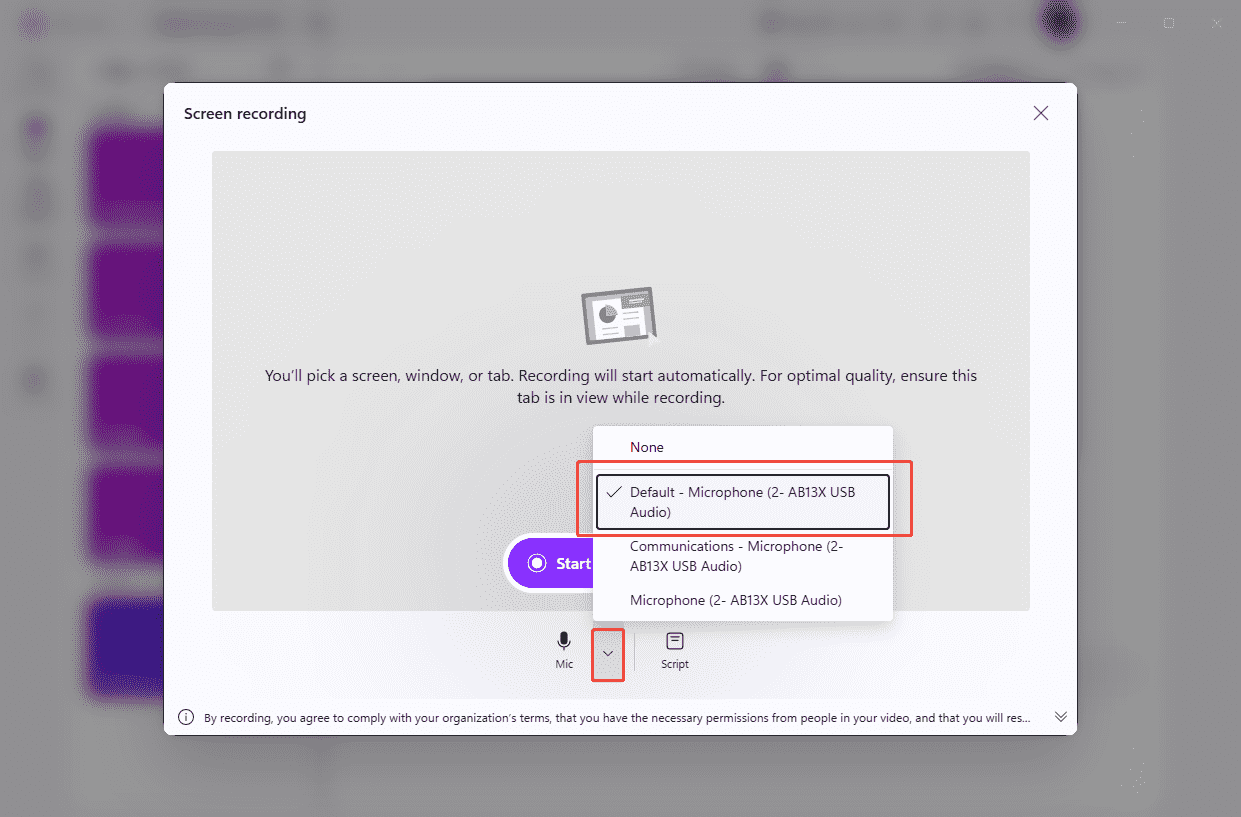
Step 4: Configure the Audio Recording Settings
The audio recording feature is enabled by default. I can select the target microphone device after expanding the drop-down menu next to the Microphone icon.
Step 5: Start and End Recording
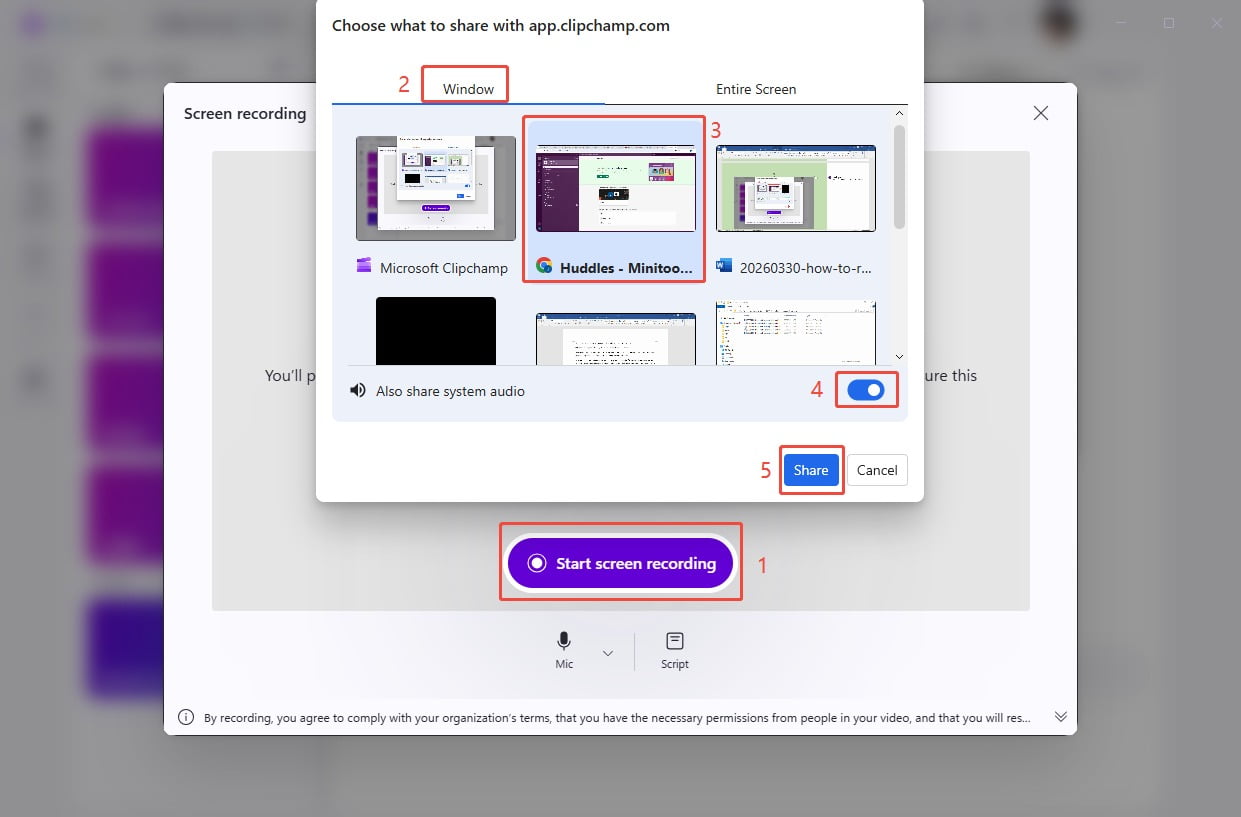
1. Click the Start screen recording option and select the target recording window under the Window section.
2. To enable the system audio recording feature, check the Also share system audio option. Then, click the Share option to begin recording.
3. Start a new Huddle in Slack.
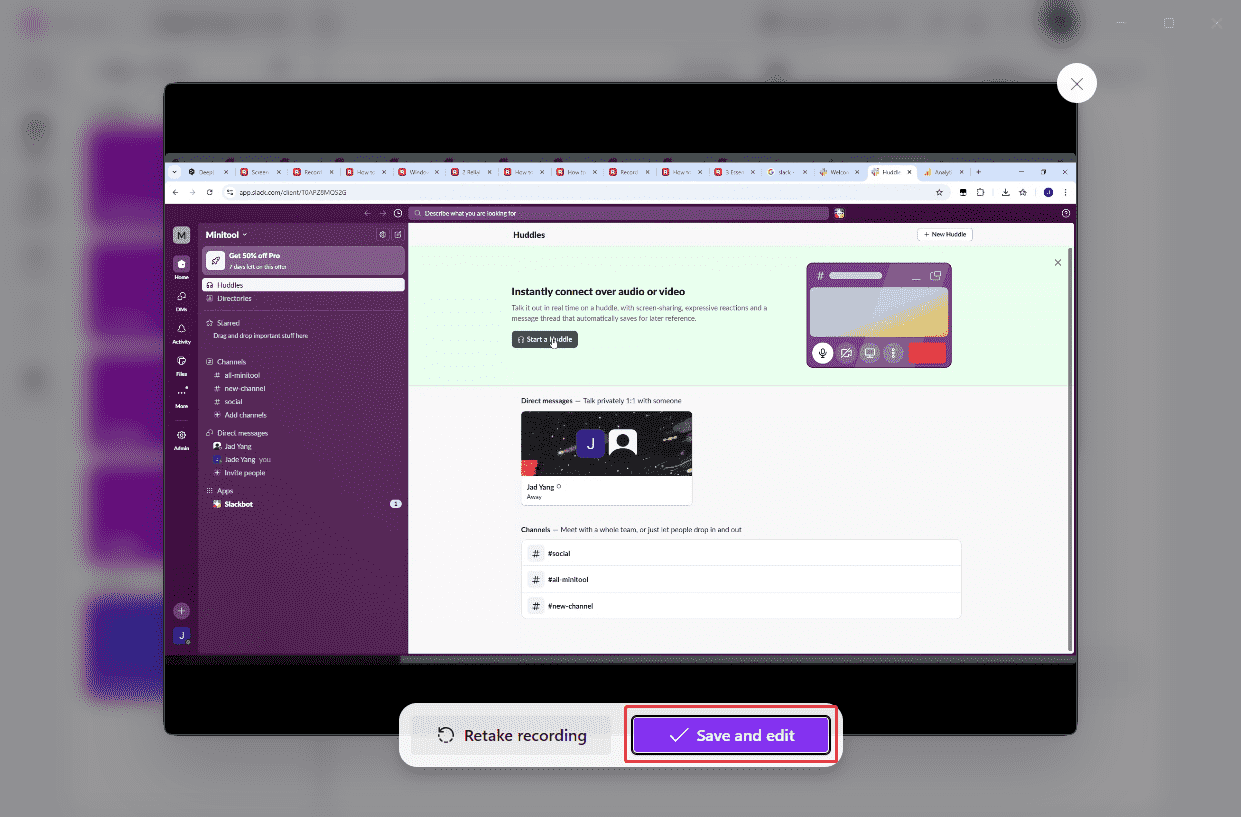
4. To end the recording process, click the Stop sharing option in the recording floating bar at the bottom of the screen.
5. Then, back to the Clipchamp and click the Save and edit option to check the recorded Slack Huddle video.
6. Finally, click the Export option in the top-right corner, then select a resolution to save the recorded video.
Overall, both tools have their own strengths. MiniTool Screen Recorder offers a more comprehensive set of features, while Clipchamp has a clear advantage when it comes to video storage. Just choose between the two tools depending on your specific recording needs.
Bonus: How to Edit the Recorded Slack Huddle Video
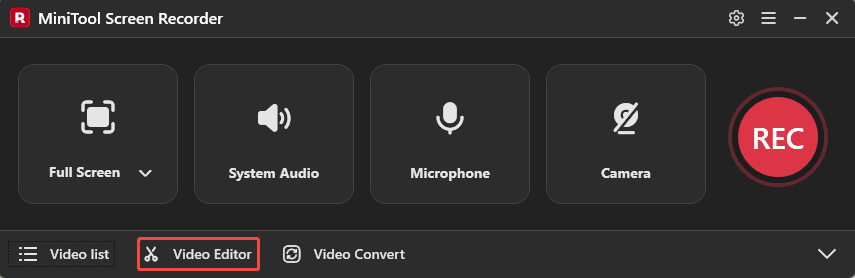
Whenever I finish recording a Slack Huddle, I typically spend a few minutes editing the video before archiving it for future use or sharing it with others. MiniTool MovieMaker is the tool I use most frequently in my daily workflow. To access this tool, simply click the Video Editor option on the main interface of MiniTool Screen Recorder.
Alternatively, simply click the button below to get it.
MiniTool MovieMakerClick to Download100%Clean & Safe
MiniTool MovieMaker perfectly meets my core requirements: it is simple to operate, yet offers a comprehensive suite of editing features. I typically use it to trim away any irrelevant footage recorded at the beginning of my videos.
I also use MiniTool MovieMaker to merge meeting videos of the same category. Then, I utilize this tool's asset library to add elements such as titles, subtitles, and transition effects. Finally, I usually export the video in MP4 format. Of course, MiniTool MovieMaker also offers other formats, such as MOV, MKV, AVI, WEBM, and more, for me to choose from.
Final Words
In this article, I explain how to record Slack Huddle using MiniTool Screen Recorder and Clipchamp. You can choose between them based on their features and your specific needs. In addition, MiniTool MovieMaker, the video editing software mentioned above, is ideal for optimizing recorded videos.
If you run into any issues when trying out MiniTool Screen Recorder or MiniTool MovieMaker, send an email to support@minitool.com.