QuickTime is a multimedia framework developed by Apple that includes recording capabilities. How to stop QuickTime screen recording? This article provides 5 efficient solutions and recommends 2 superior alternatives to easily achieve screen recording on Mac and Windows systems.
Introduction to QuickTime
QuickTime is macOS's built-in extensible multimedia framework. It is widely recognized for its powerful media playback capabilities, supporting playback of multiple multimedia formats. Additionally, QuickTime includes built-in screen recording functionality, providing Mac users with a convenient tool for capturing screen activity.
How to Stop QuickTime Screen Recording on Mac
Although QuickTime provides users with convenient recording capabilities, many users, especially beginners, often struggle with how to stop QuickTime screen recording. To help users achieve a better recording experience, this article will introduce five methods for stopping recording in QuickTime.
Way 1: Use the Stop Button
When users enable QuickTime screen recording, its compact recording menu bar automatically hides and cannot be re-displayed by clicking the mouse. The most direct way to stop screen recording at this point is to use the stop button in the Mac system menu bar. The specific steps are as follows:
Step 1: Go to the Mac Menu Bar
Navigate to the menu bar at the top of your Mac screen.
Step 2: Stop QuickTime Screen Recording
Click on the black circular icon on the left of the menu bar to stop the screen recording process.
Way 2: Use Keyboard Shortcuts
Another simpler way to stop QuickTime screen recording is by using keyboard shortcuts. You just need to press the Command + Control + Esc key combination to directly end QuickTime screen recording.
Way 3: Use the Mac Touch Bar
If you're using a MacBook Pro, you can end QuickTime screen recording using the Touch Bar at the top of your keyboard. During recording, simply click the red stop icon that appears on the Touch Bar to end the recording.
Way 4: Force Quit QuickTime
If you encounter unresponsiveness or lag while recording your screen using QuickTime, you can terminate the recording by force-quitting the application. Follow these steps now:
Step 1: Open Apple Menu
Launch the Apple Menu on your Mac.
Step 2: Force Quit QuickTime
1. Locate QuickTime in the Apple Menu and select it.
2. Click the Force Quit option in the bottom-right corner of the Apple Menu window, and QuickTime will stop running, thereby terminating the screen recording.
Way 5: Use Activity Monitor
The final method also requires terminating screen recording by force-quitting QuickTime. However, users must accomplish this using macOS's built-in Activity Monitor. The steps are quite straightforward:
Step 1: Launch Activity Monitor
1. Go to Finder and navigate to the Applications module, then click on Utilities.
2. Select the Activity Monitor option.
Step 2: Quit QuickTime
1. Under the CPU section, locate QuickTime.
2. Click the X icon in the upper-left corner to quit QuickTime. Then the recording process will stop.
In summary, all five methods above can help you quickly stop QuickTime screen recording, but please choose carefully based on your specific situation.

Top Screen Recording Alternative
If you're seeking a smoother, more streamlined screen recording experience, consider the following recommended alternatives to QuickTime.
Top Screen Recording Alternative for Mac
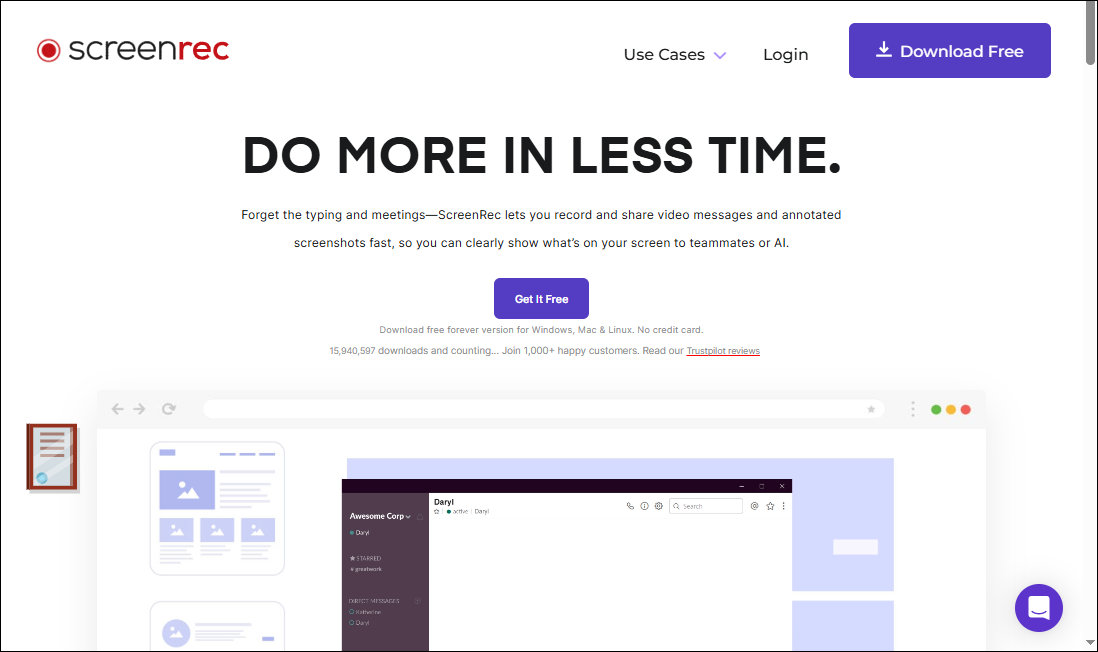
If beginners wish to save on learning costs, they can try ScreenRec, a professional and free screen recording software for Mac. It supports recording of the full screen or specific areas. ScreenRec also allows users to capture screenshots and add annotations during recording.
Additionally, it allows users to store recorded videos in the cloud and share them in real-time with others via links. In short, whether for everyday video recording needs or professional recording requirements, ScreenRec is a reliable choice.
Top Screen Recording Alternative for Windows
The methods described above for stopping screen recording also apply to the Windows version of QuickTime. However, due to limitations in technical support, the performance of this version has become unstable.
Therefore, if you are a Windows user, you can opt for this free and powerful screen recording software, MiniTool Screen Recorder, for a better recording experience. It supports multiple recording modes, including full-screen or specific region capture, audio recording, and webcam recording.
Additionally, MiniTool Screen Recorder provides annotation tools, allowing users to annotate the screen while recording. It allows users to customize recording shortcut keys and preset recording durations. Moreover, recorded videos are completely free of watermarks.
Therefore, whether you simply need to record your screen or require additional annotation features like the online instructors, MiniTool Screen Recorder is an indispensable tool. Now, click the download button below and try it!
MiniTool Screen RecorderClick to Download100%Clean & Safe

Here is the basic workflow for screen recording using MiniTool Screen Recorder:
Step 1: Open MiniTool Screen Recorder
Launch MiniTool Screen Recorder after you install it on your PC.
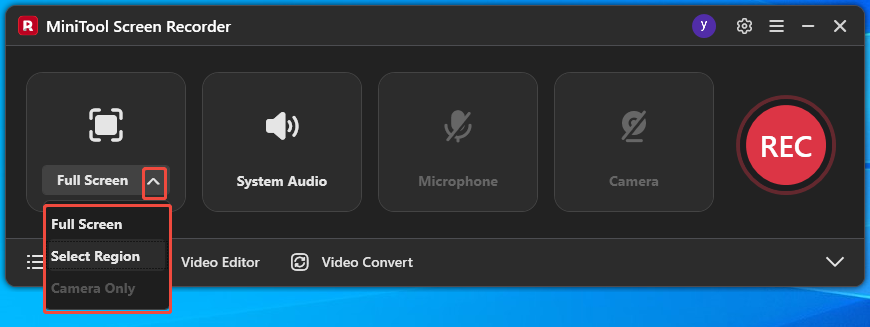
Step 2: Select the Recording Area
Expand the drop-down menu of the Full Screen option to select the recording mode based on your needs.
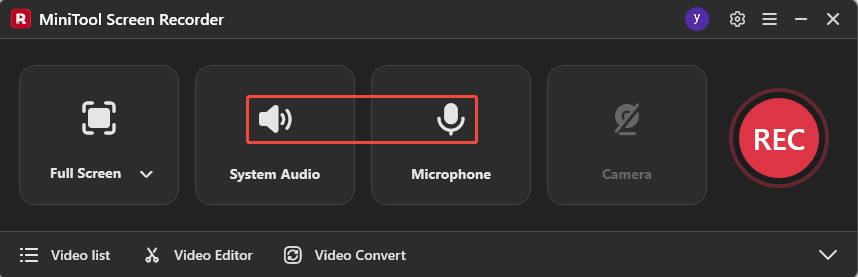
Step 3: Configure the Audio Recording
Click on the System Audio icon or the Microphone icon to determine whether to record the system audio or voiceover.
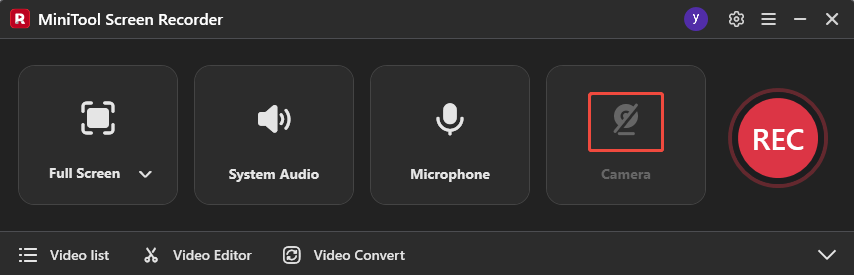
Step 4: Set the Camera Recording
If you want to record the screen with webcam footage, click on the Camera icon on the right.
Step 5: Start and End Recording
1. When you want to start the recording process, press the F6 key on your keyboard.
2. To end recording, press F6 again.
Conclusion
All in all, you can stop QuickTime screen recording using the stop button, keyboard shortcuts, Touch Bar, force-quitting the application, or Activity Monitor. Additionally, if you require more advanced recording features, ScreenRec and MiniTool Screen Recorder are worth considering.
If you encounter any issues while trying out MiniTool Screen Recorder, feel free to email us via support@minitool.com or send me a message on X for assistance.