What Is GIPHY Capture
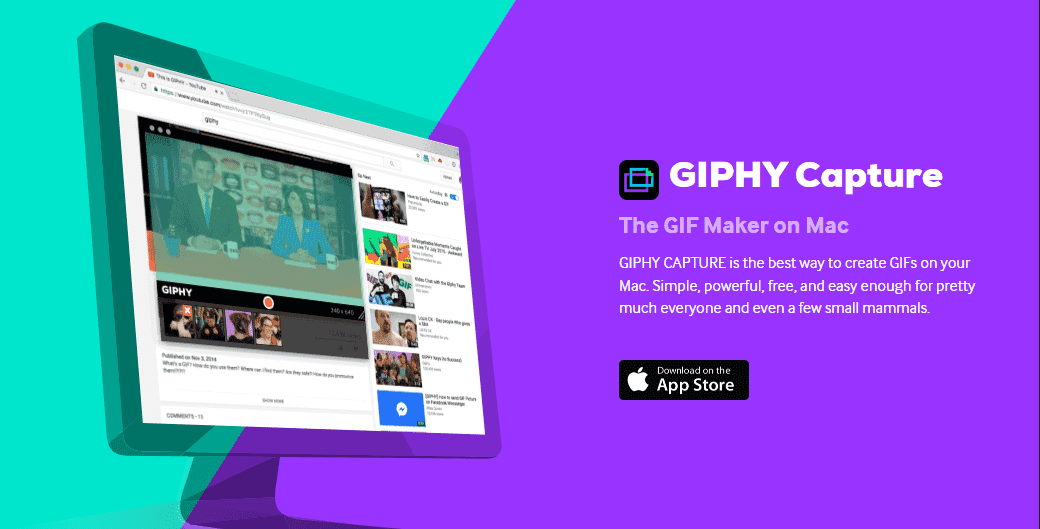
GIPHY Capture is a free desktop application for Mac systems. It allows users to capture any activity on their screen and convert it into a GIF animation. After recording, users can utilize its built-in editing tools to add text, crop the size, and more.
Additionally, users can directly share the generated GIF to their GIPHY Capture account or send it to friends. However, GIPHY Capture has a maximum recording time of thirty seconds.
Key features of GIPHY Capture:
- Ease of use.
- Totally free.
- No watermark.
- Provide an editing tool.
- Support recording video as a GIF.
- Support one-click sharing.
How to Use GIPHY Capture
Using GIPHY Capture to record videos as GIFs is incredibly simple. Here are the steps:
Step 1: Launch GIPHY Capture
Open GIPHY Capture on your computer.
Step 2: Adjust Recording Area
Drag the window borders to adjust the recording area as needed.
Step 3: Start and End Recording
1. To start the recording process, click the Record button at the bottom of the main interface.
2. Play the video you want to record and position the CIPHY Capture application window over the video.
3. You need to click the Record button to stop recording before the recording reaches 30 seconds.
Why Record Videos to GIF
Whether you're a media creator or an everyday social media user, recording video clips into GIFs offers the following advantages:
1. Take up Less Storage Space
Generally speaking, short GIF animations tend to have smaller file sizes than high-resolution video files. Therefore, for users who need to produce a large volume of videos, recording video content into GIF format can save more storage space.
2. Attract the Audience’s Attention
In static social media feeds or web pages, automatically looping GIFs stand out prominently and effectively capture audience attention. Therefore, embedding GIFs in comment sections or integrating them into instructional content and product demonstrations helps audiences absorb key information more efficiently.
3. Enable Quick and Easy Browsing
Compared to videos that require manual playback, GIF animations can highlight key information and loop automatically. This not only accelerates viewers' access to core content but also allows users to easily perform related steps while watching the information.
6 GIPHY Capture Windows Alternatives
If you're a Windows user looking to record and create fun GIFs, we've listed six excellent alternatives to GIPHY Capture for Windows below, including:
- MiniTool Screen Recorder
- Snipping Tool
- ScreenToGif
- Gyazo
- ShareX
- Fraps
Now, you can read the detailed descriptions of each screen recording tool below and choose the one that best suits your needs.
#1 MiniTool Screen Recorder
MiniTool Screen Recorder is one of the best GIPHY Capture alternatives for Windows. As a professional screen recording tool, it supports capturing any activity on your screen, including online meetings, gameplay, live streams, video calls, and more.
Additionally, users can choose to record the entire screen or a specific area based on their needs, while also supporting simultaneous or separate recording of system audio and microphone audio.
Another key reason to strongly recommend MiniTool Screen Recorder is its built-in webcam recording feature, which allows users to create compelling picture-in-picture videos. What’s more, annotation tools can be used during recording to highlight important information.
Although videos recorded with MiniTool Screen Recorder are saved in MP4 format, its companion video editing tool, MiniTool MovieMaker, can easily convert them to GIF format. Furthermore, you can use this editing tool to adjust the size of recorded videos and trim out unnecessary segments.
To make GIFs more engaging, you can also use MiniTool MovieMaker to add filters, transitions, effects, special effects, text, and other elements.
How to Record the Screen to a GIF Using MiniTool Screen Recorder
To help you efficiently record video to GIF format using MiniTool Screen Recorder, we provide a detailed step-by-step guide below.
Step 1: Download and Install MiniTool Screen Recorder
MiniTool Screen RecorderClick to Download100%Clean & Safe
Click on the button above to download MiniTool Screen Recorder. Then, follow the prompts to install it on your computer.
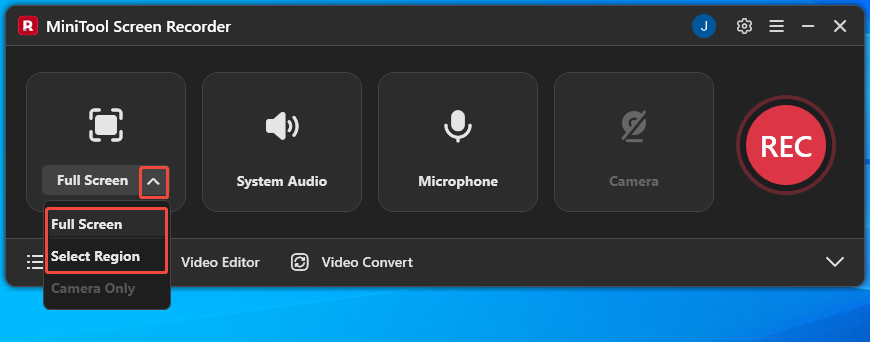
Step 2: Select the Recording Area
MiniTool Screen Recorder defaults to full-screen recording mode. If you want to record a GIF within a specific area, simply expand the dropdown menu next to the Full Screen option and choose the Select Region option.
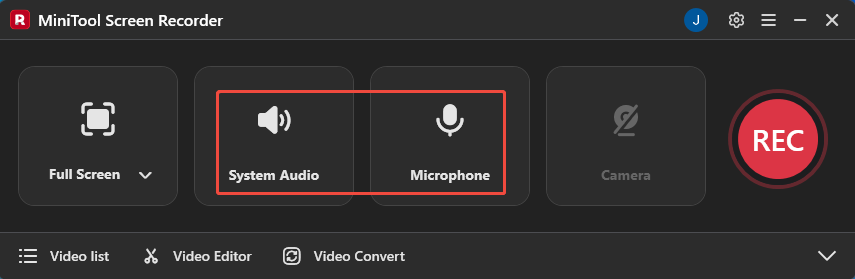
Step 3: Control the Audio
By default, the system audio and microphone audio recording functionality are enabled. If you want to disable these features, click respectively on the System Audio icon and the Microphone icon.
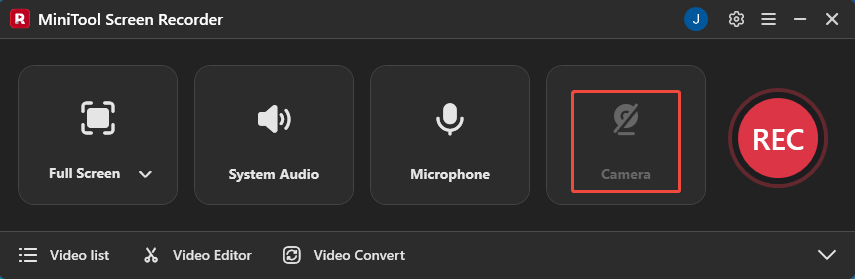
Step 4: Set the Camera Recording
If you want to record a video to GIF with your face, simply click on the Camera icon on the right.
Step 5: Customize Recording Parameters
1. Click on the Settings icon in the upper-right corner of the main interface to enter the settings interface.
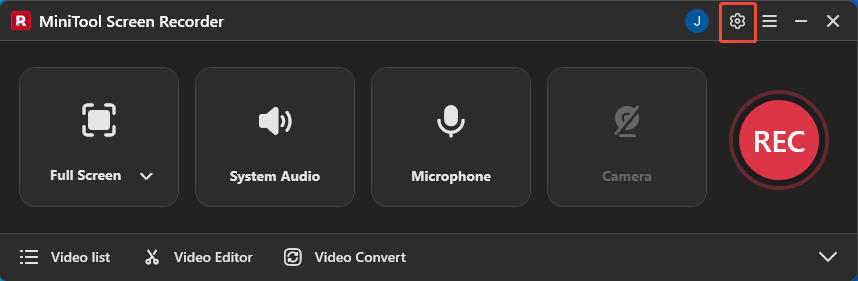
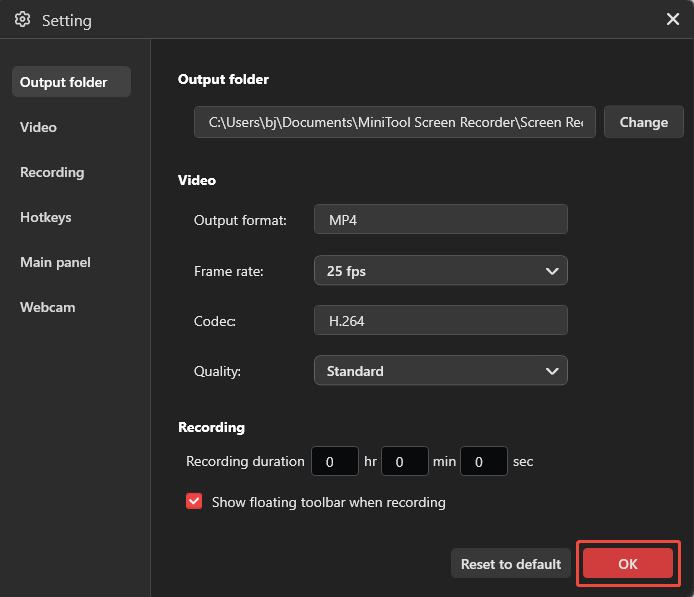
2. Then you can configure video recording parameters under the corresponding tabs, such as setting the video frame rate, quality, and presetting the recording time.
3. You can also set the camera recording parameters under the Webcam section, such as the position, shape, size, and more.
3. Finally, don’t forget to click the OK button to save the changed parameters.
Step 6: Start and End Recording
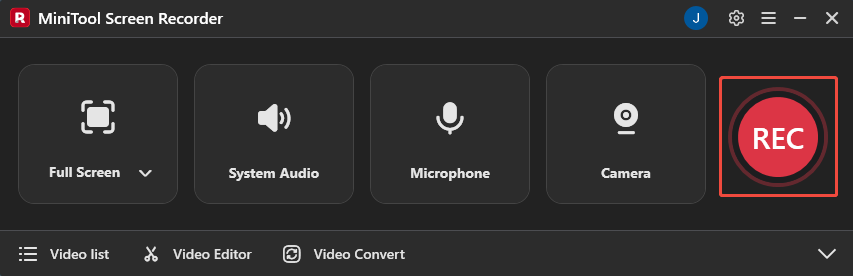
1. If you want to start the recording process, simply click the REC button on the right side of the main interface or press the F6 key. After a 3-second countdown, it will automatically begin.
2. Play the video you want to record.
3. During the recording process, you can press the F9 key to pause and resume the recording process.
3. If you're recording a tutorial video to GIF, you can select the appropriate tool from the annotation toolbar on the right side of the screen to annotate the screen.
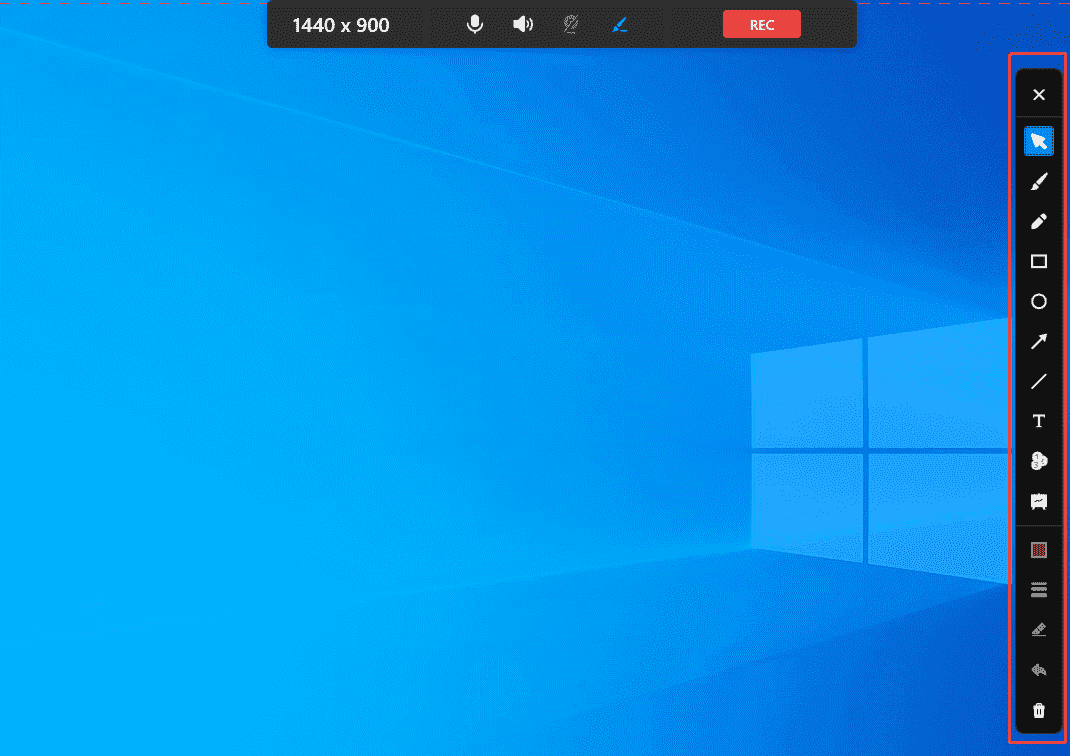
4. When you want to end the recording process, press the F6 key again.
Step 7: Check the Recorded Video
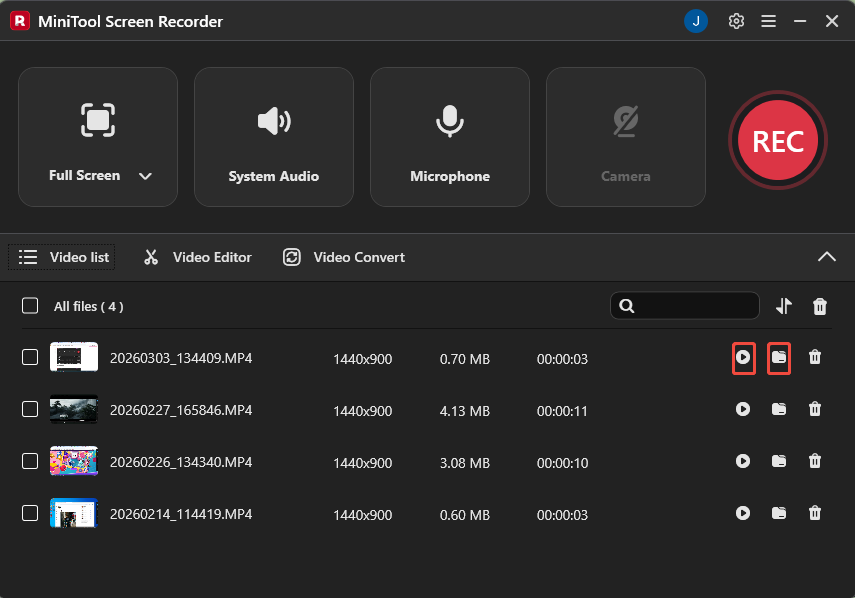
1. After the recording is complete, you will be automatically redirected to the Video list section where list the recorded videos.
2. Then, you can tap the play icon to check the recorded video or tap the folder icon to locate it.
Step 8: Enable the Video Editing Tool
Click the Video Editor option in the main interface to get the video editing tool.

Or, you can click the button below to get this editor.
MiniTool MovieMakerClick to Download100%Clean & Safe
Step 9: Edit the Recorded Video
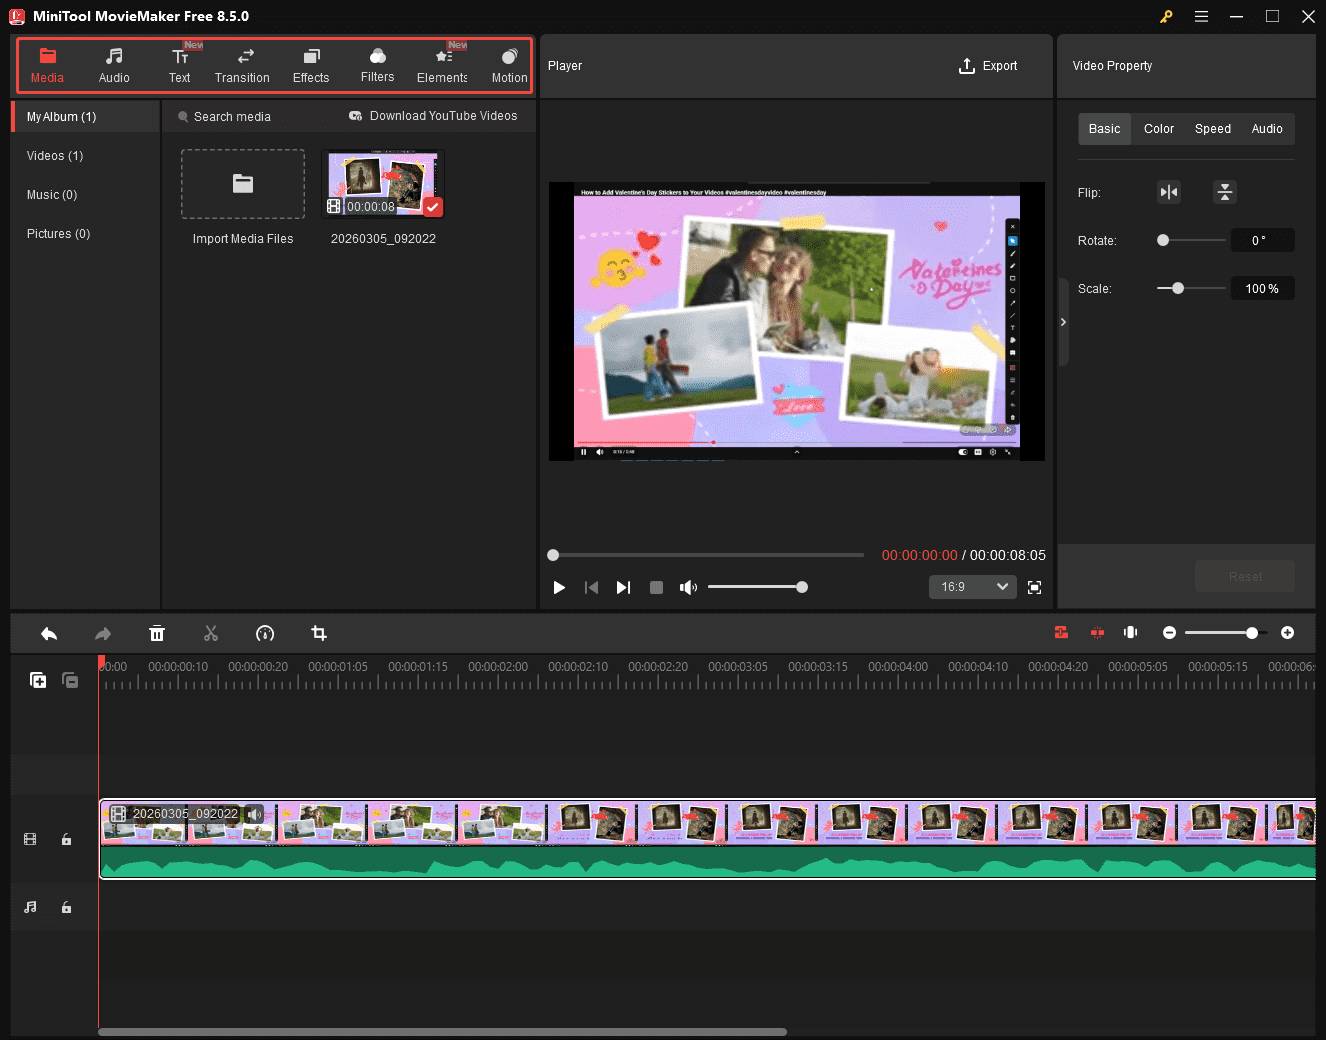
1.Tap the Import Media Files area in the main interface to upload the recorded video.

2. Drag the recorded video into the timeline.
3. Then you can trim, crop, and rotate your recordings.
4. Or, you can add text, transitions, effects, and other elements to make the recorded video more vivid and engaging.
Step 10: Export Recorded Video as GIF
1. After finishing your editing, click on the Export option at the top of the main interface.
2. In the new pop-up window, expand the dropdown menu next to the Format option. Then, scroll down the menu and select the GIF option.
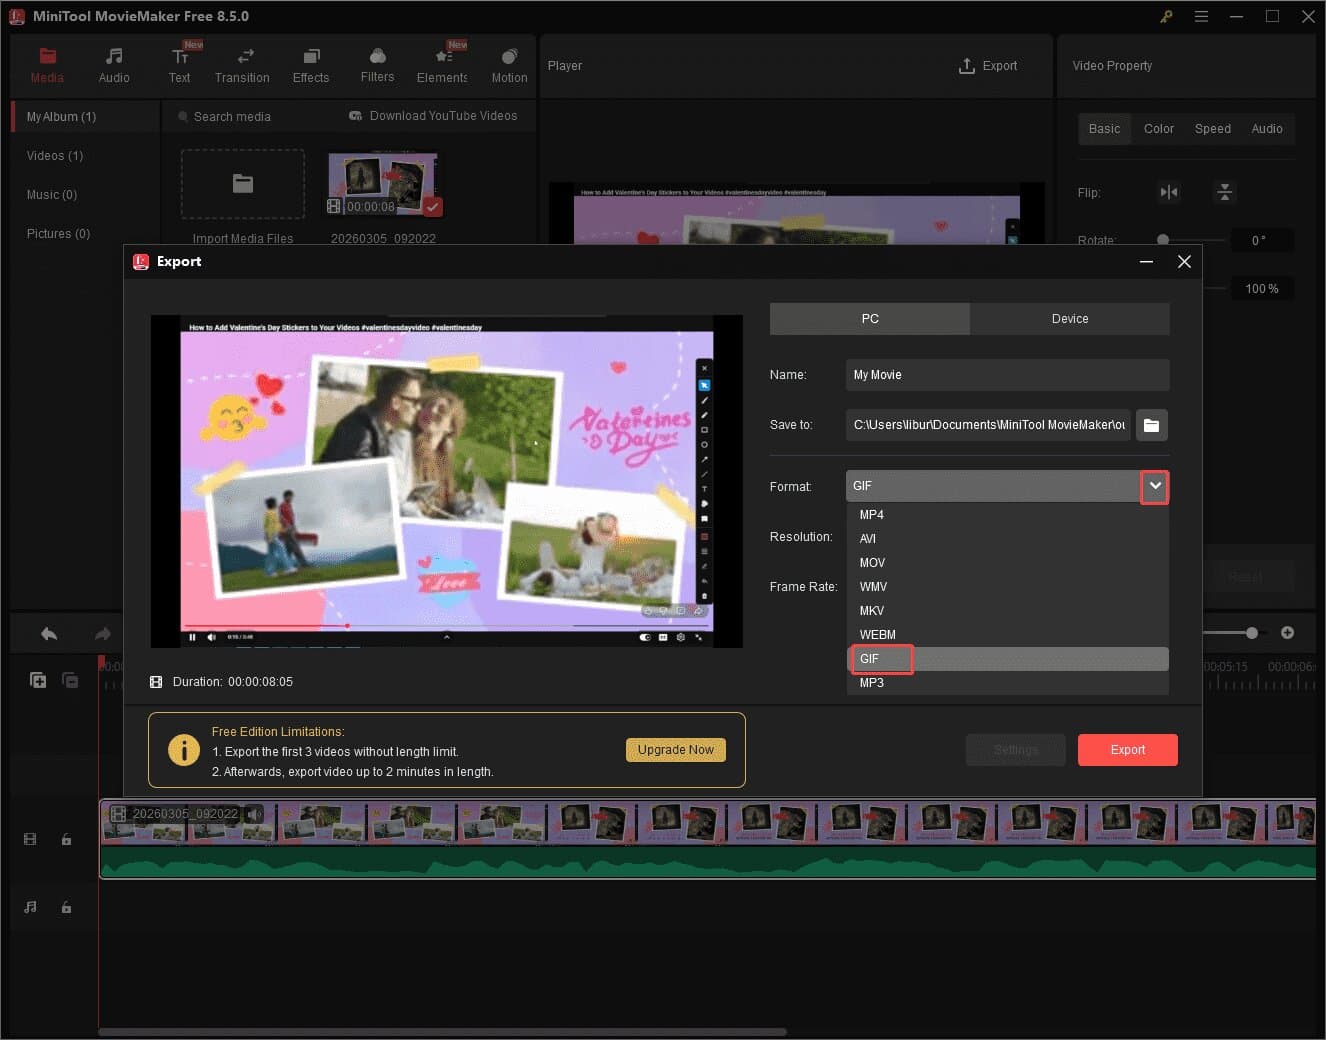
3. Finally, click the Export option in the lower-right corner of the exported interface to save the GIF animation to your computer.
#2 Snipping Tool
If you prefer not to install any additional software, the built-in Windows Snipping Tool can fully meet your needs for recording video into GIF format. It was originally designed solely for capturing static screenshots. Microsoft added screen recording functionality in subsequent Windows updates. Snipping Tool now supports exporting recorded content directly as GIF files.
Snipping Tool allows users to customize recording areas or select specific windows while enabling simultaneous audio recording. However, this tool has certain limitations: it only permits exporting GIF files under 30 seconds in length. If a video exceeds this duration, the system will automatically trim the first 30 seconds of content.
#3 ScreenToGif
If you're searching for a GIPHY Capture alternative for Windows that can record videos as GIFs while offering robust editing capabilities, ScreenToGif is worth your attention. This free Windows recording tool supports both screen capture and webcam recording. It also uniquely features a drawing board recording function, enabling users to create personalized hand-drawn animated GIFs.
Before recording, users can adjust the frame rate and resolution according to their needs. After recording ends, ScreenToGif automatically redirects to the editing page, where users can resize video clips and add transitions.
Additionally, you can delete individual frames to reduce file size. What’s more, the software exports GIF files by default but also supports outputting video formats like MKV, AVI, MOV, or PNG image formats.
#4 Gyazo
Gyazo is also one of the best GIPHY Capture Windows alternatives, while also being compatible with Mac and Linux platforms. It allows users to customize screen recording areas, supports simultaneous or separate recording of microphone and system audio, and provides camera recording functionality.
Gyazo’s recording process is incredibly simple. Users just need to select the target area to start recording instantly. Once finished, Gyazo will automatically upload the recording to the Gyazo cloud, where users can add tags and descriptions.
Additionally, each recording instantly generates a GIF link that can be copied to the clipboard with a single click, making sharing effortless. Users can also share these animated GIFs directly from the cloud to platforms like Twitter, Facebook, and Reddit.
#5 ShareX
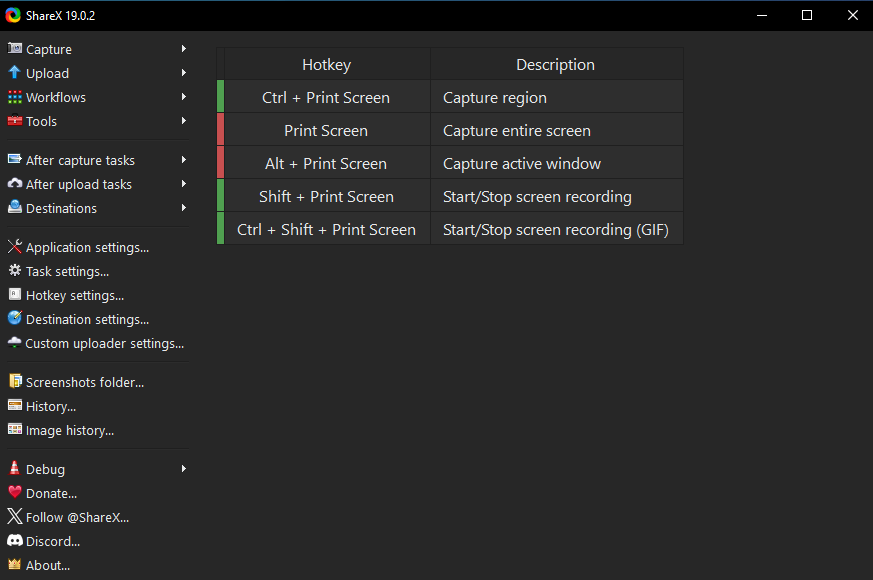
ShareX is a free, lightweight Windows application that stands as one of the best alternatives to GIPHY Capture. It not only supports screenshots but also provides advanced scrolling capture technology. ShareX can also capture full-screen, specific regions, and window activities.
Additionally, ShareX offers dedicated GIF recording functionality, allowing users to start recording immediately after selecting the target area. After recording, users can choose to further edit and optimize the GIF or share it directly to over 80 platforms, including Dropbox, Google Photos, Twitter, Imgur, and more.
What’s more, you can set up post-processing workflows before recording. However, it's important to note that while ShareX offers numerous advanced features, its interface is relatively complex, requiring users to spend more time learning the various operations.
#6 Recordit
Recordit is a free and easy-to-use GIPHY Capture alternative for Windows systems. It enables users to record screen activity, camera footage, and audio separately. Unlike other recording software, Recordit also allows users to enable mouse cursor recording, helping them create more distinctive GIF animations.
Additionally, users can preset the GIF's dimensions, output path, and file name before recording. After recording, if the GIF size is unsatisfactory, its editing features allow for further resizing. You can also directly add a suitable background to the GIF. However, it is noted that the free version of Recordit imposes recording time limits and adds a watermark to the content.
Although Windows users cannot experience GIPHY Capture, there are actually many powerful alternatives available on the Windows platform. The 6 Windows recording tools mentioned above not only offer the basic functionality to record video into GIF, but also provide users with more flexible recording options. You can choose the tool that best suits your needs.
Bottom Line
This article introduces 6 high-quality GIPHY Capture Windows alternatives, including MiniTool Screen Recorder, Snipping Tool, Gyazo, ShareX, and others. Each tool can convert recorded video content into GIF format and offers unique advantages. You can test these tools yourself to select the one that best meets your needs.
If you encounter any issues while trying out MiniTool Screen Recorder or MiniTool MovieMaker, feel free to email us via support@minitool.com or send me a message on X for assistance.