Where does OBS save recordings? This question might come to your mind after you stop a recording. You can easily locate the OBS video in the Videos folder on your Windows PC. You can also change the default save location for OBS recordings within a few clicks. This post covers all the details and introduces a user-friendly alternative to OBS for screen recording – MiniTool Screen Recorder.
A Quick Review of OBS
OBS (Open Broadcaster Software) is a free, open-source, cross-platform software application for video recording and live streaming.
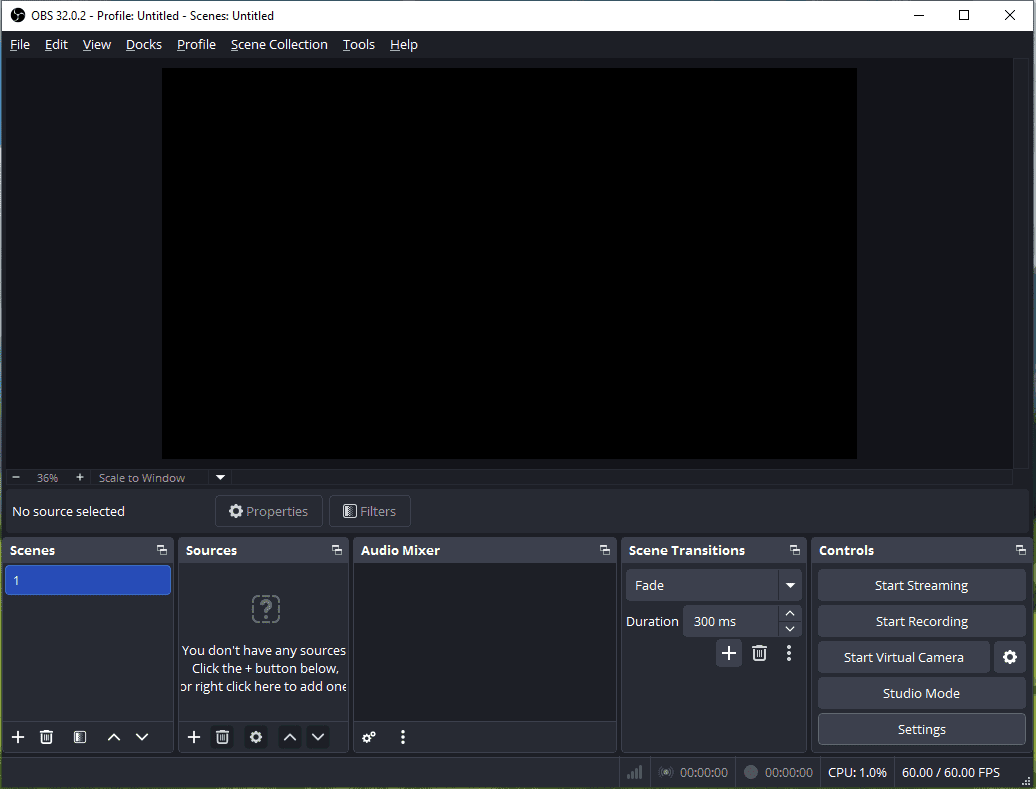
As a powerful screen recording program, OBS allows users to create complex scenes using multiple sources, such as monitors, gameplay, images, specific application windows, webcams, and capture cards. With its advanced customization, users can add video effects (such as Chroma Key and color correction) and audio filters (such as noise suppression and equalizer) to individual sources.
What’s more, OBS provides various settings such as quality, format, video encoder, audio encoder, bitrate, and frame rate to control the recording quality and file size. As professional-grade live streaming software, OBS lets users stream to Twitch, YouTube, Facebook, and other platforms.
However, the OBS interface can be complex for beginners, so users may take some time to set it up correctly.
Where Does OBS Save Recordings?
With OBS, you can record high-definition video and audio from multiple sources directly to your computer, supporting up to 4K resolution. Once you stop recording webcams, desktop screens, game footage, and audio, you must want to know where to find OBS recordings for quick viewing.
Where do OBS recordings go? Where are OBS recordings saved? I believe many people may be confused by this question. This is because OBS won’t pop up a window to show your recordings.
Default Save Location
Typically, OBS saves recordings in your account's default Videos folder on Windows - (C:\Users\[Username]\Videos).
How to Find OBS Recordings
If you haven’t changed the OBS default recording path, you can navigate to the above path to quickly locate your recording on your computer.
What’s more, you can quickly find your OBS recording within the application. Once you end a recording, click File in the top-left corner of the interface and select Show Recordings from the dropdown to locate the video you just recorded directly.

Next, you can play the recording instantly using the computer’s media player or third-party video players.
How to Change OBS Recording Location
Of course, OBS allows you to select any folder you want to store recordings. Follow the steps below to change the OBS recording path.
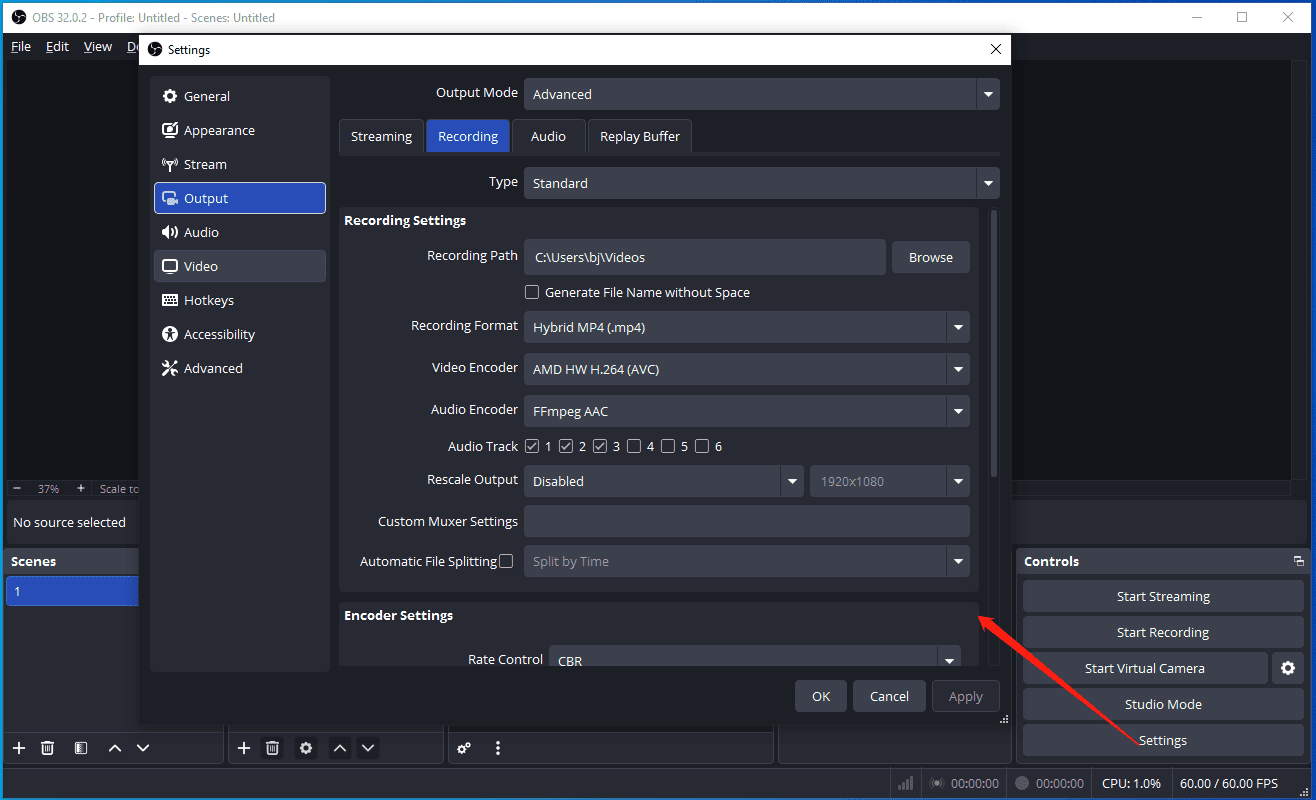
Step 1: On the OBS interface, click Settings in the lower-right corner.
Step 2: In the Settings window, switch to the Output tab on the left sidebar. Next, go to the Recording tab on the right panel.
Step 3: You’ll then see the Recording Path option at the top of the Recording Settings section. If you don’t remember the save path you set for OBS recordings, you can check it there.
To change the recording save location, click Browse to choose your target folder, click Select Folder, and click Apply > OK to confirm.

Best OBS Recorder Alternative: MiniTool Screen Recorder
If you’re a beginner who wants a screen recorder that’s easier than OBS, MiniTool Screen Recorder is a reliable choice. It features an intuitive interface that’s easy to navigate and doesn’t have complex settings to start a recording.
Whether you need to capture the entire desktop screen, selected regions, or specific windows, MiniTool Screen Recorder can help. It’s also capable of recording your webcam with a custom size, position, and shape. With the annotation tools, you can add text, shapes, arrows, and other elements to make your video more engaging.
Best of all, MiniTool Screen Recorder enables you to set a recording duration for automatic stop at the end. Here’s how to record your screen with the application.
Step 1: Install the Excellent Screen Recorder
To begin, click the button below to get the screen recorder and complete the installation.
MiniTool Screen RecorderClick to Download100%Clean & Safe
Step 2: Adjust Recording Settings
To customize your recording, click the Settings icon in the top-right corner to open Settings.
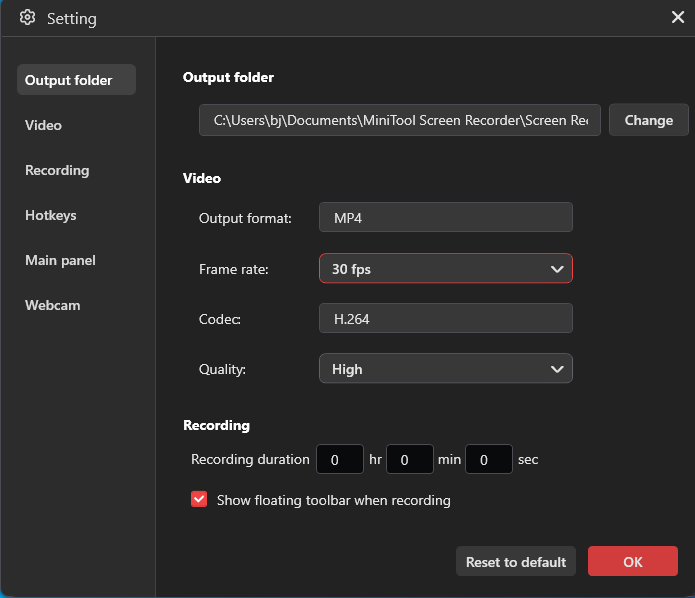
In the Settings window, you can modify the save location, video quality, and frame rate, or set a recording duration. Next, click OK to confirm your changes.
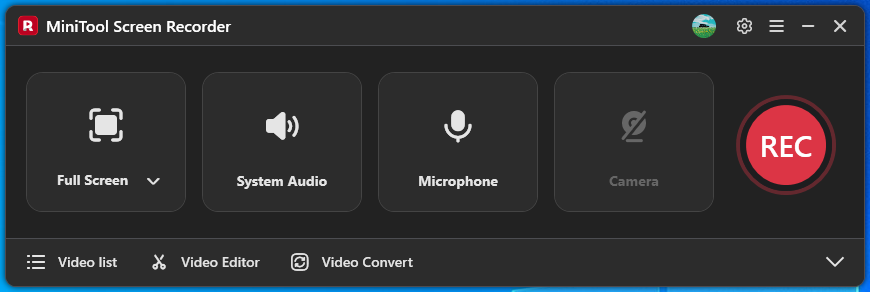
Step 3: Choose Recording Area
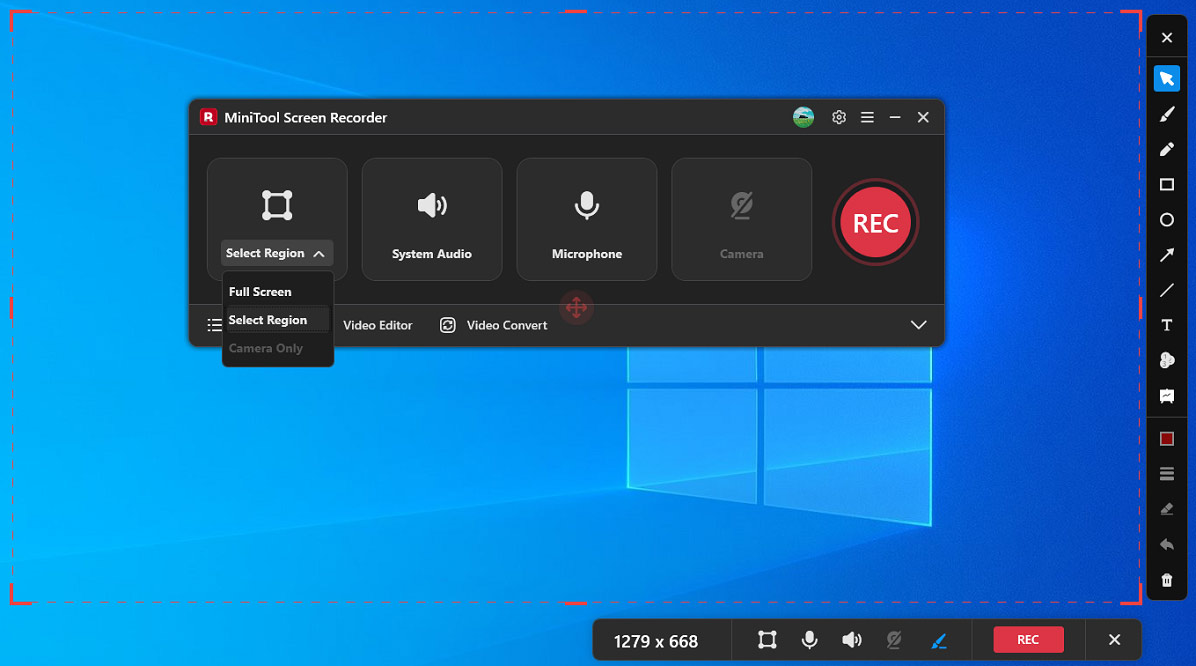
By default, MiniTool Screen Recorder selects and records the whole desktop. To record part of the screen, click the arrow next to the Full Screen option, click Select Region, and drag to select your desired recording region.
Step 4: Check the Audio
By default, system audio and microphone (if plugged in) will be recorded along with the screen. Click System Audio or Microphone to mute the recording if you don’t need sound.
Step 5: Start and Stop Recording
Click the red REC button on the right side or press F6, and the recording begins after a 3-second countdown. During the recording, you can press F9 to pause the process if you don’t want to capture a certain part, and press the key again to resume the recording.
Recording will automatically stop after the set duration is reached. You can also press F9 at any time to end recording.
Step 6: Check and Edit the Recording
MiniTool Screen Recorder’s Video list will expand immediately after stopping a recording. The video will appear at the top of the Video list.
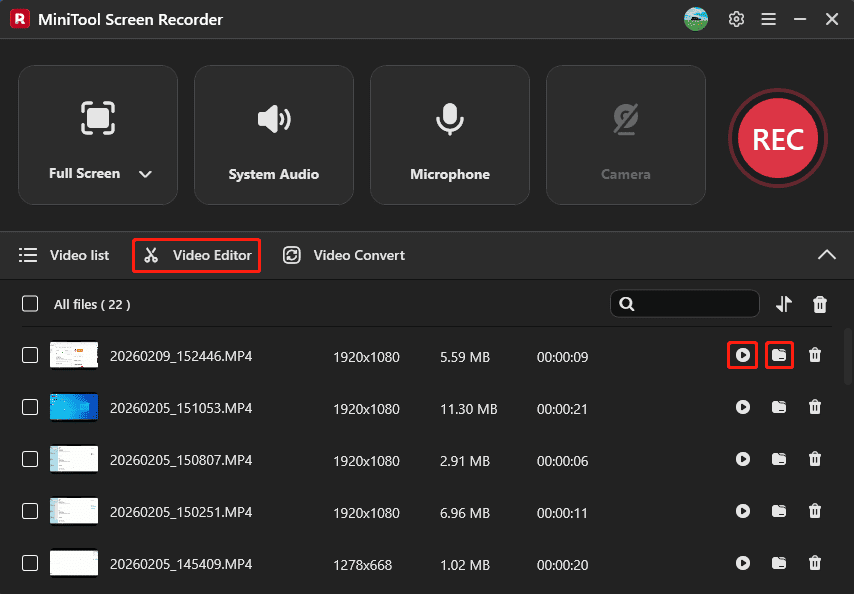
Click the Folder icon to locate the video, or click the Play icon to view the recording. Next, you can click Video Editor to open or download MiniTool MovieMaker to polish your recording.
Conclusion
Where does OBS save recordings by default? Always check the Videos folder on your Windows PC. Of course, you can follow the steps above to change the save location.
If OBS is a bit difficult for you to set up, try MiniTool Screen Recorder to capture your screen activity with ease. If you have any questions while using MiniTool Screen Recorder, please email us at support@minitool.com for help.