Google Meet is a video conferencing service featuring meeting recording capabilities. However, where do Google Meet recordings go? By default, they are saved to your Google Drive. In this article, you will learn how to efficiently manage these recordings and record Google Meet meetings for free with a third-party recorder, as well as edit the recordings.
Introduction to Google Meet
Google Meet is a video conferencing service developed and released by Google. Users with a Google account can access the service directly in their browser without downloading any software. Google Meet supports online meetings with up to 100 participants simultaneously, and meetings can last up to 24 hours.
Additionally, Google Meet integrates several practical tools into its meeting features, such as virtual backgrounds and real-time captions, helping users boost productivity. What’s more, Google Meet offers a recording feature that allows meeting organizers to record sessions for later review. However, this feature is only available on desktop computers and cannot be enabled on mobile devices.
Where Do Google Meet Recordings Go
Where can I find my Google Meet recordings? This is a common question from users. Here is a clear answer to this question.
After recording a Google Meet meeting, the recording file is not saved directly to your local computer. Instead, it is saved by default to the Google Drive account associated with the meeting organizer. All recordings are automatically stored in the “Meet Recordings” folder created within Google Drive.
Additionally, if the meeting has been scheduled in advance as a calendar event, the recording will be attached as a link to the Google Calendar event. After the meeting concludes, all authorized participants can access the recording via this link.
Furthermore, after the meeting concludes, the meeting organizer and recording initiator will receive an email containing a link to the accessible recording file. If they share this link with meeting participants, those participants can also use the link to view, share, or download the meeting recording.

How to Find Google Meet Recordings
As mentioned above, there are three ways to view Google Meet recordings. Below, we will provide detailed step-by-step guides for each method.
#1 Find Google Meet Recordings in Google Drive
Here is an instruction on viewing Google Meet recordings in Google Drive:
Step 1: Open Google Drive
1. Open your Google Chrome on your PC.
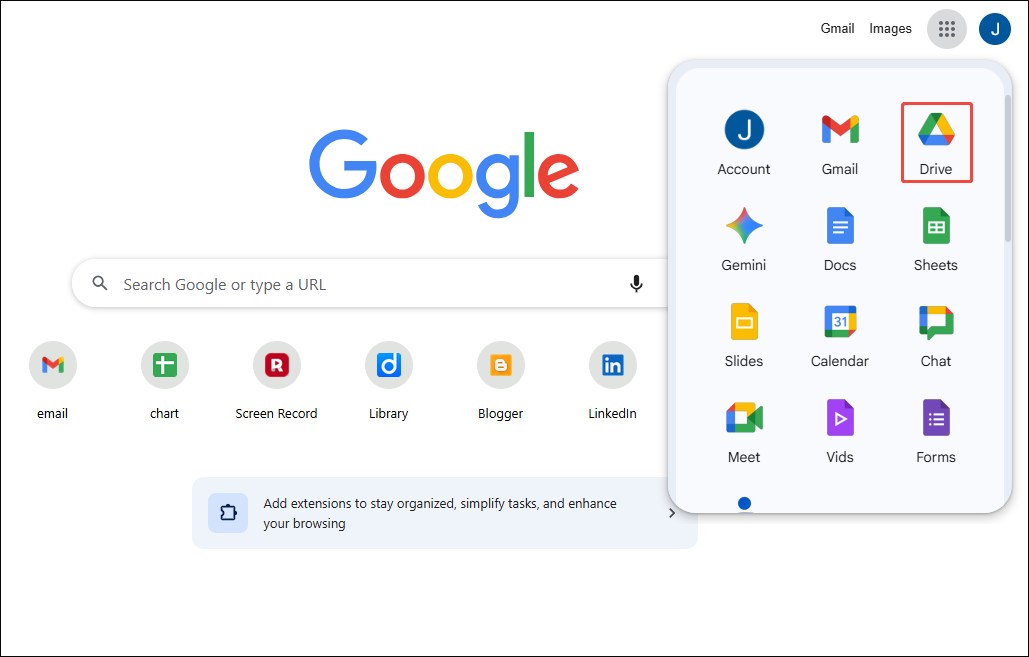
2. Click on the Google apps icon in the top-right corner of the main interface. Then, click on Drive to launch Google Drive.
Step 2: Check the Recorded Google Meet Meetings
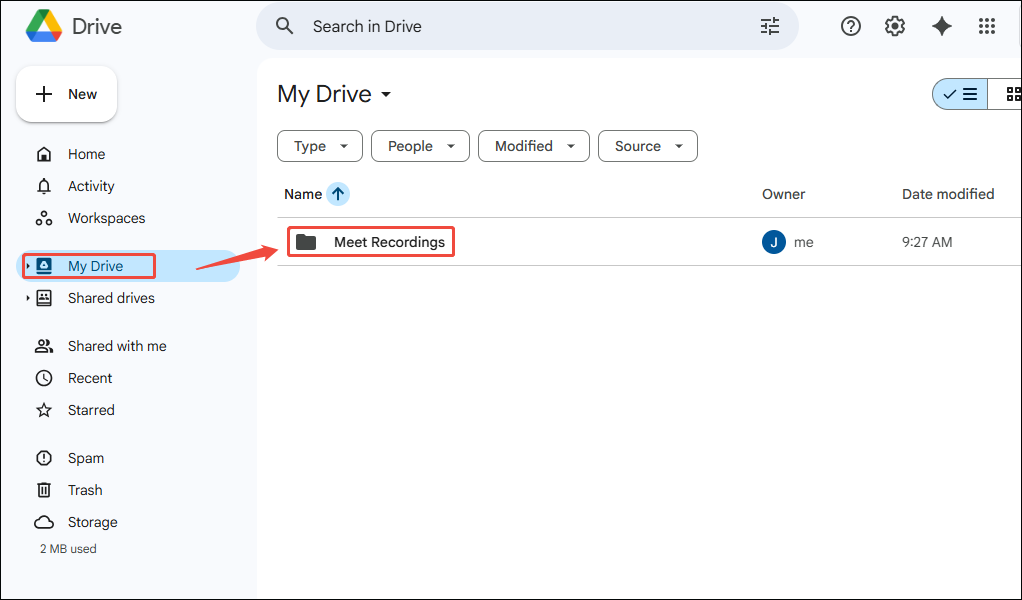
Click on My Drive in the left-hand menu bar, then you can click Meet Recordings on the right to view your recorded files.
#2 Find Google Meet Recordings in the Google Calendar Event
Meeting organizers and screen recording initiators can also view recordings through calendar events. Here's how to do it:
Step 1: Open Google Calendar
Click the Google apps icon in the upper-right corner of the Chrome interface, then click on Calendar to launch the app.
Step 2: Use the Link to View the Recorded Meeting
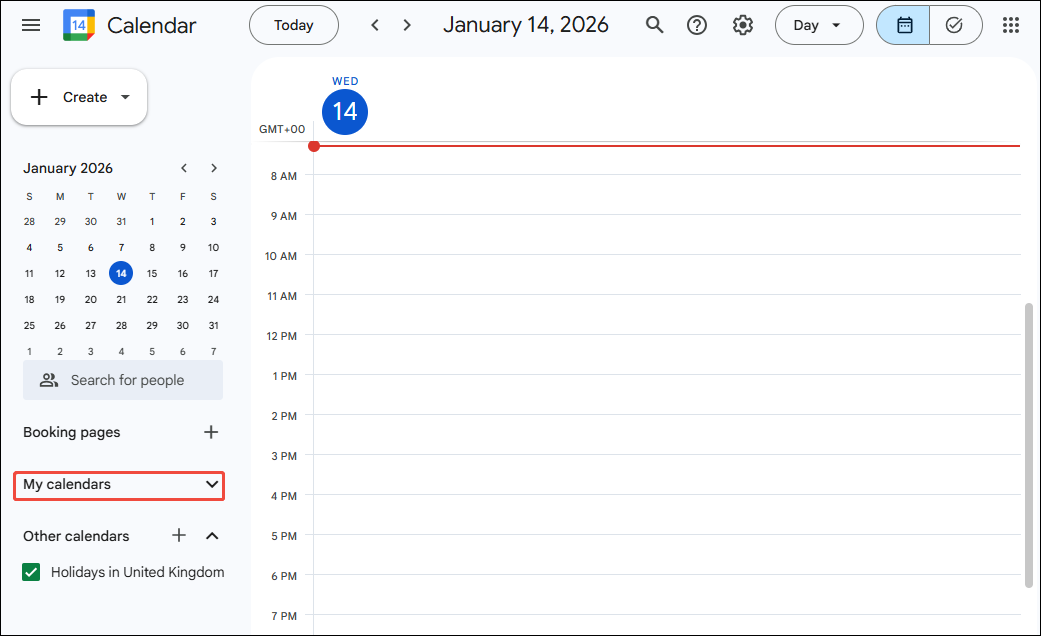
1. Click on My calendars on the main interface to view the corresponding meeting calendar event.
2. Then click on View Details, and you can click the displayed link to navigate to Google Drive and view the meeting recording.
#3 Find Google Meet Recordings Using an Email Link
Additionally, sharing meeting recordings via email links allows more attendees to view the recording. The process is very simple.
1. After the meeting concludes, the meeting organizer or the person who initiated the recording can check their Google email for the received link.
2. Clicking the link will automatically redirect you to the recording file location in Google Drive. Then, you can check the recorded meetings.
3. To allow attendees to view the Google Meet recording, simply copy the link and share it with them.
In summary, all three methods above allow you to easily and efficiently view Google Meet recordings. However, different approaches are required depending on your role as a participant. Therefore, after understanding these strategies, please select the appropriate method to access the meeting recording.
How to Download and Share Google Meet Recordings
Google Meet supports sharing or downloading recordings to a local folder for offline viewing. This feature not only facilitates information sharing among employees but also enables reviewing meeting content, organizing meeting notes, and preserving archives anytime, anywhere. Below are the steps for downloading and sharing Google Meet recordings. Now, let’s dive in.
#1 Download Google Meet Recording
Now, you can follow the detailed steps below to download the Google Meet recording.
Step 1: Locate Google Meet Recordings
1. Go to Google Drive on your Chrome.
2. Click on the Meet Recordings to check all the recorded meetings.
Step 2: Download Google Meet Recording
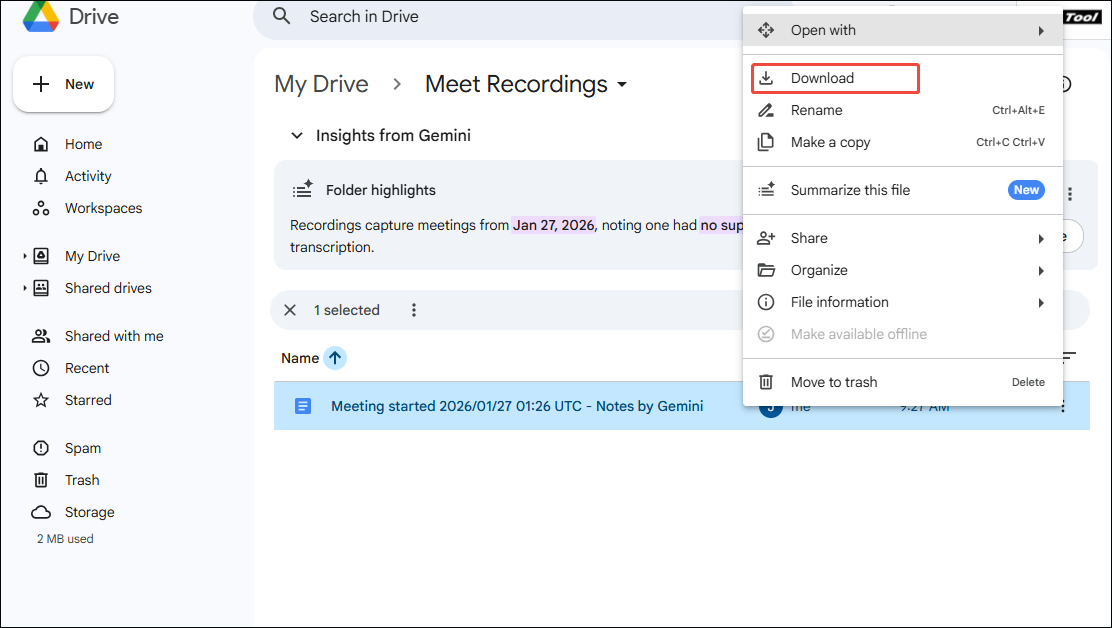
1. In the Meet Recordings interface, find the recorded meeting you want to download.
2. Then, right-click the recorded file and select the Download option in the new pop-up window to save it to your local file.
#2 Share Google Meet Recording
Here are two methods to help you share Google Meet recordings:
Method 1: Use Google Drive
Here is a simple guide on how to share a recorded meeting using Google Drive. You can follow these steps:
Step 1: Locate Google Meeting Recordings
Step 2: Share Google Meet Recordings
1. In the Meet Recordings interface, locate the recorded file you want to share with your partner.
2. Click on the More actions option on the right side of the recorded file. Then, select the Share option.
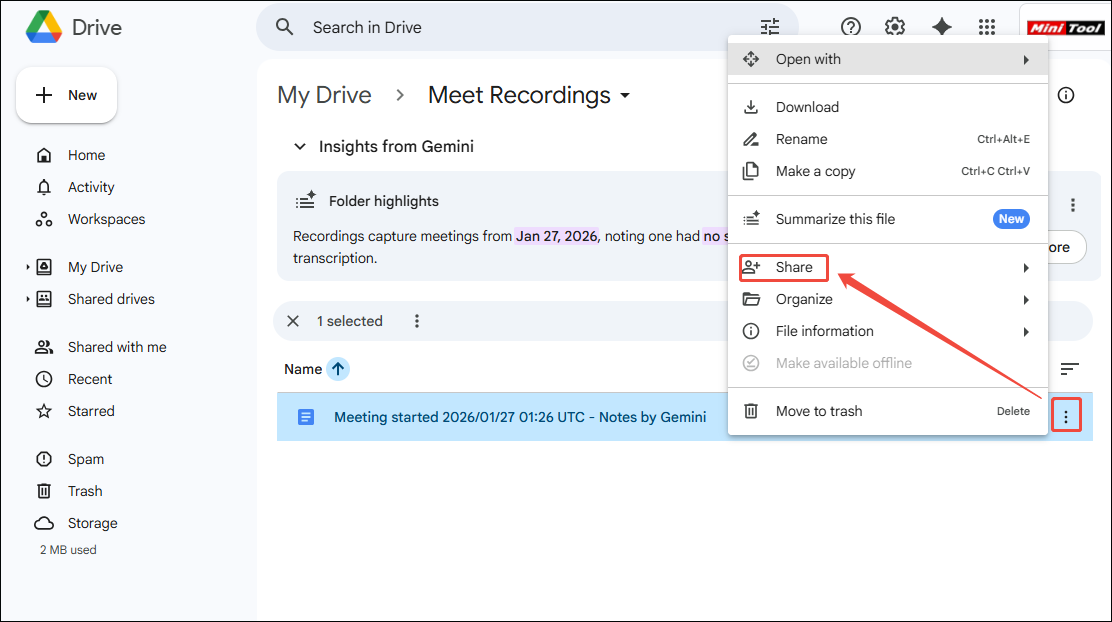
3. In the new pop-up window, you can enter the recipient's email address in the box. Then, click on Done to complete the operation.
Method 2: Use Gmail
Here is a step-by-step instruction you can follow now:
Step 1: Locate Google Meet Recording
1. Go to Google Chrome and click on the Google apps in the top-right corner, then click Gmail to open it.
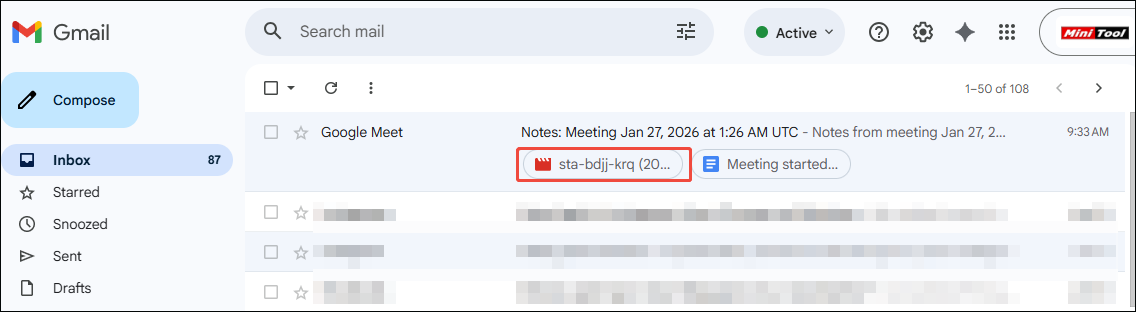
2. Locate the email sent to you by Google Meet, which contains the recorded meeting link.
Step 2: Share Google Meet Recording
Then you can copy the recorded meeting link and share it with team members via chat software or email. This allows them to watch, share, and download the recorded content.
Pro Tips: How to Record a Google Meet for Free
Although Google Meet offers meeting recording functionality, not all users have access to this feature. It is exclusively available to Google Workspace users, and only meeting organizers or users with recording permissions can enable it.
Furthermore, Google Meet's recording feature is not free; users must subscribe monthly to access it. More importantly, while recorded meetings can be saved directly to the Google Drive for later viewing, these recordings consume storage space from the organizer's Google Cloud Storage quota.
In such situations, users can easily record Google Meet meetings for free using third-party screen recording software. The professional screen recording tool MiniTool Screen Recorder provides an efficient solution for this purpose.
Why Choose MiniTool Screen Recorder
MiniTool Screen Recorder is a free and easy-to-use screen recording software. It allows users to capture the entire screen or any selected area while simultaneously recording screen activity, system audio, microphone audio, and webcam footage. Additionally, it supports all screen activities, including webinars, online meetings, game videos, video calls, and live streaming content.
What's more, MiniTool Screen Recorder offers annotation tools that enable annotating the screen during recording. For instance, users can highlight key information with arrows, ellipses, and other shapes, or demonstrate step-by-step procedures using the whiteboard feature. This functionality is particularly well-suited for corporate meeting minutes or educational presentations.
More importantly, MiniTool Screen Recorder also allows users to modify recording parameters. For example, users can preset recording durations to enable hands-free operation during timed meetings. It also supports adjusting camera position, size, shape, and other settings to help users capture personalized picture-in-picture videos.

How to Record Google Meet with MiniTool Screen Recorder
Now, you can check the step-by-step guide below to record the Google Meet meeting using MiniTool Screen Recorder.
Step 1: Download and Install MiniTool Screen Recorder
MiniTool Screen RecorderClick to Download100%Clean & Safe
Click on the button above to download and install the latest version of MiniTool Screen Recorder.
Step 2: Set the Recording Area
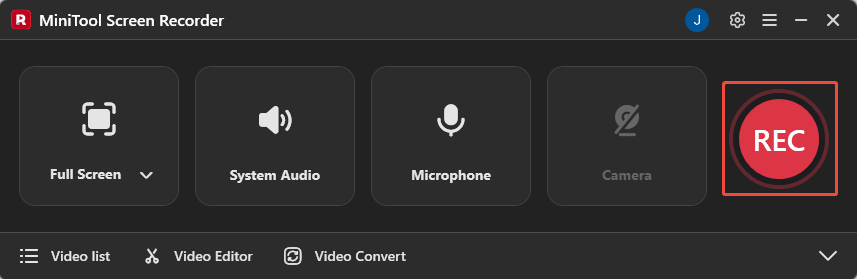
1. Launch MiniTool Screen Recorder after you install it on your PC.
2. Expand the drop-down menu of the Full Screen option.
3. Then, you can select the Full Screen option to capture the entire screen. Alternatively, you can choose the Select Region option to customize the screen recording area.

Step 3: Control the Audio Recording
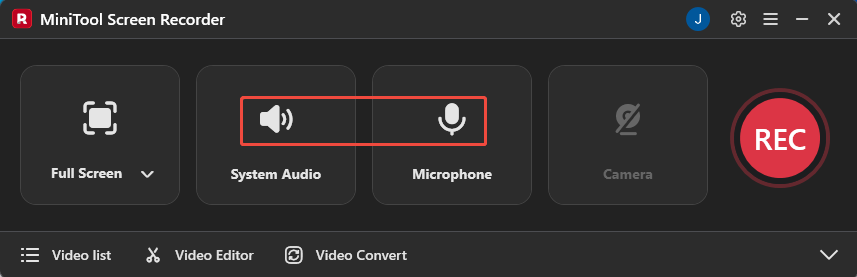
1. Since this is an online meeting recording, it is recommended to enable both system audio and microphone audio simultaneously to capture important remarks.
2. Therefore, you can click the System Audio option or the Microphone option to decide whether to activate the audio recording function.
Step 4: Control the Camera Recording
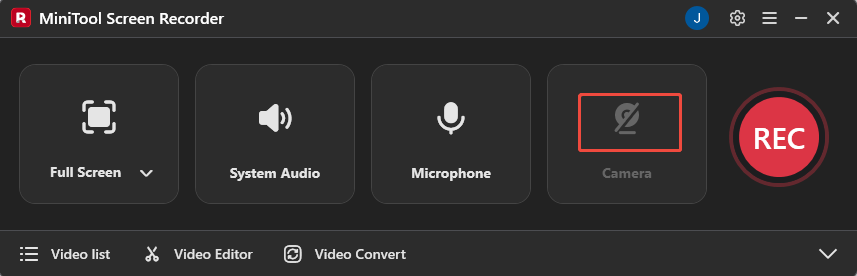
If you want to record the meeting with your face, you can click on the Camera icon on the right of the main interface.
Step 5: Start and End the Recording
1. Start a meeting in Google Meet.
2. When you want to start recording the meeting, click on the REC button on the right side of the main interface or press the default key F6 on your keyboard. After a 3-second countdown, it will start the recording process.
3. If you want to annotate important information during screen recording, simply select the corresponding tool, such as arrows or whiteboards, from the annotation toolbar on the right.
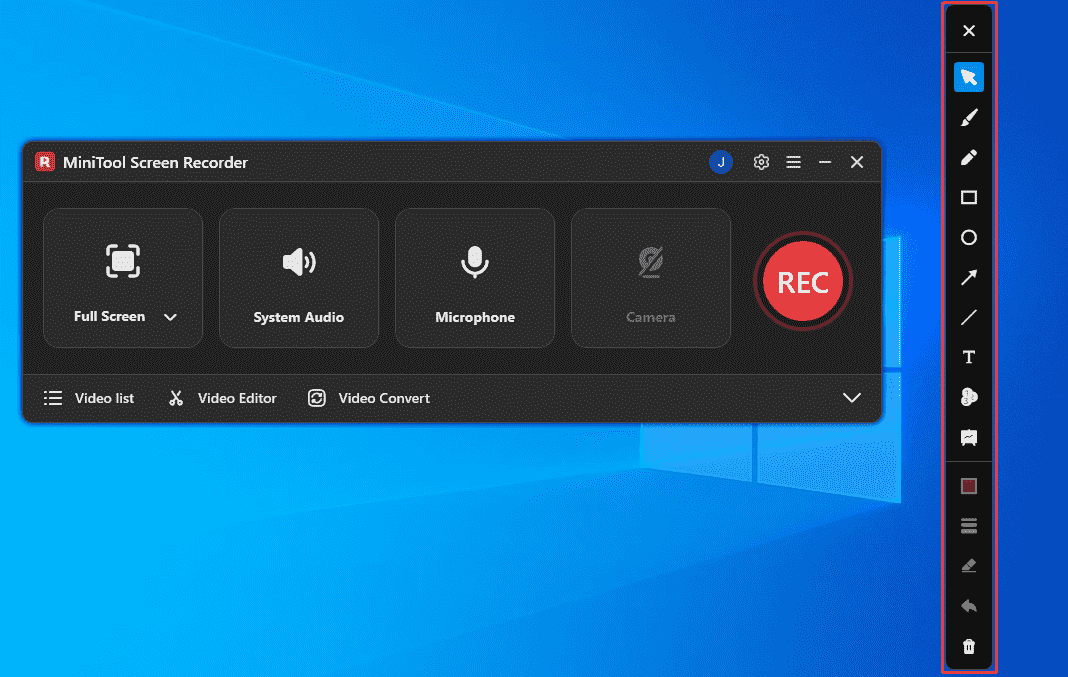
4. To end the recording process, press the default key F6 again.
Step 6: Check and Locate the Recorded Meeting
1. After recording completes, you will automatically be redirected to the Video list module in MiniTool Screen Recorder, where your recordings will be displayed.
2. Click on the Play icon to check the recorded Google Meet meeting, and click on the Folder icon to locate the recorded file.

All in all, using third-party screen recording software like MiniTool Screen Recorder not only allows you to record Google Meet meetings for free with zero lag, but also enables advanced features such as camera access and annotation tools during recording. More importantly, the recorded files won't take up any storage space on your Google Drive.
How to Edit Google Meet Recordings
Recorded Google Meet meetings often contain awkward pauses, private content, or sensitive information, making post-editing of these recordings particularly important. Now, simply click the Video Editor option at the bottom of the MiniTool Screen Recorder main interface to get MiniTool MovieMaker.
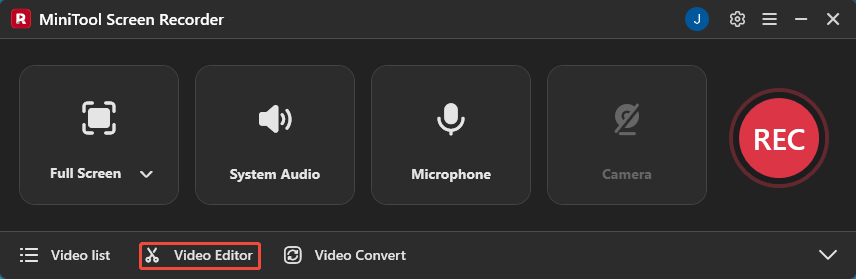
Or, you can click the button below to get MiniTool MovieMaker.
MiniTool MovieMakerClick to Download100%Clean & Safe
You can leverage its powerful video editing features, such as cropping and trimming, to address awkward pauses, unnecessary filler words, and other imperfections that may occur during meetings.
Additionally, you can utilize its extensive media library (including filters, elements, and text) to handle sensitive information discussed in meetings. Finally, when exporting files, you can choose from multiple formats like MP4, MKV, AVI, MOV, and WEBM based on your specific needs.
Bottom Line
Where do Google Meet recordings go? By default, they are automatically saved to your Google Drive and can be accessed via links in calendar events or through email links sent via Google Meet. This article also provides efficient techniques for managing these recorded files. Additionally, the third-party screen recorder mentioned can help you capture Google Meet meetings for free.
Don't forget to use the recommended video editing software to redact sensitive information from your recordings. If you encounter any issues while trying out MiniTool Screen Recorder or MiniTool MovieMaker, feel free to email us via support@minitool.com or send me a message on X for assistance.