This article will explain what mouse movement is and why it is important in screen recording. It also shows how to record mouse movements using 2 excellent screen recorders, including MiniTool Screen Recorder and Movavi Screen Capture.
What Is Mouse Movement
Mouse movement refers to all actions performed by the mouse on the screen. These include clicking, double-clicking, moving the cursor, dragging files, scrolling pages, and triggering prompts or windows by hovering over options or buttons, etc.
Why Mouse Movements Matter in Screen Recording
Capture your on-screen cursor so viewers can clearly see where you clicked, the key points you wanted to highlight, and the tracks of your actions on a program. Without mouse movement in the recording, screen videos can be confusing, especially when multiple buttons or options appear on the screen.
The following are the reasons why mouse movements are important in screen recording.
Catching Viewer Focus
Mouse movements attract the viewer’s attention. When the mouse moves, the viewer is drawn to it and follows its movement, which helps maintain focus and reduces confusion.
Reducing Extra Explanations
Mouse movement makes it clearer for viewers to see what the recorder wants to share. In tutorials or demonstration videos, mouse movement clearly indicates locations and options. It can also perform actions such as clicking and switching.
When mouse operations are clear and straightforward, creators don't need to explain word-for-word. The cursor itself becomes a visual explanation, which improves the efficiency of content delivery.
Making Recorded Videos More Professional
Mouse movement is especially important for instructional videos, product demonstrations, or presentations. Screen recordings that capture mouse movement are clearer and smoother, enhancing the professionalism of a creator or company.
How to Record Mouse Movements
Want a mouse movement recorder? Below are 2 recommended recorders that I’ve used.
1. Use MiniTool Screen Recorder
MiniTool Screen Recorder is a free mouse movement recorder. It provides a screen annotation feature, which allows you to capture cursor while recording. Moreover, MiniTool Screen Recorder prepares colorful pens, highlights, shapes, texts, and numbering. It also supports a whiteboard, which helps you add more details to your recordings.
MiniTool Screen Recorder allows you to record system audio, voiceover, or both simultaneously. Does it have recording duration limitations? No! MiniTool Screen Recorder enables you to capture mouse movements as long as you want.
Apart from recording full screen, MiniTool Screen Recorder also supports framing the screen according to your needs. In addition, it offers webcam recording with a PiP (Picture-in-picture) effect.
The steps below are how to record mouse movements with MiniTool Screen Recorder.
Step 1. Download and Set Up MiniTool Screen Recorder
Click on the download button below to download and install MiniTool Screen Recorder. Then, launch it.
MiniTool Screen RecorderClick to Download100%Clean & Safe
Step 2. Select the Recording Region
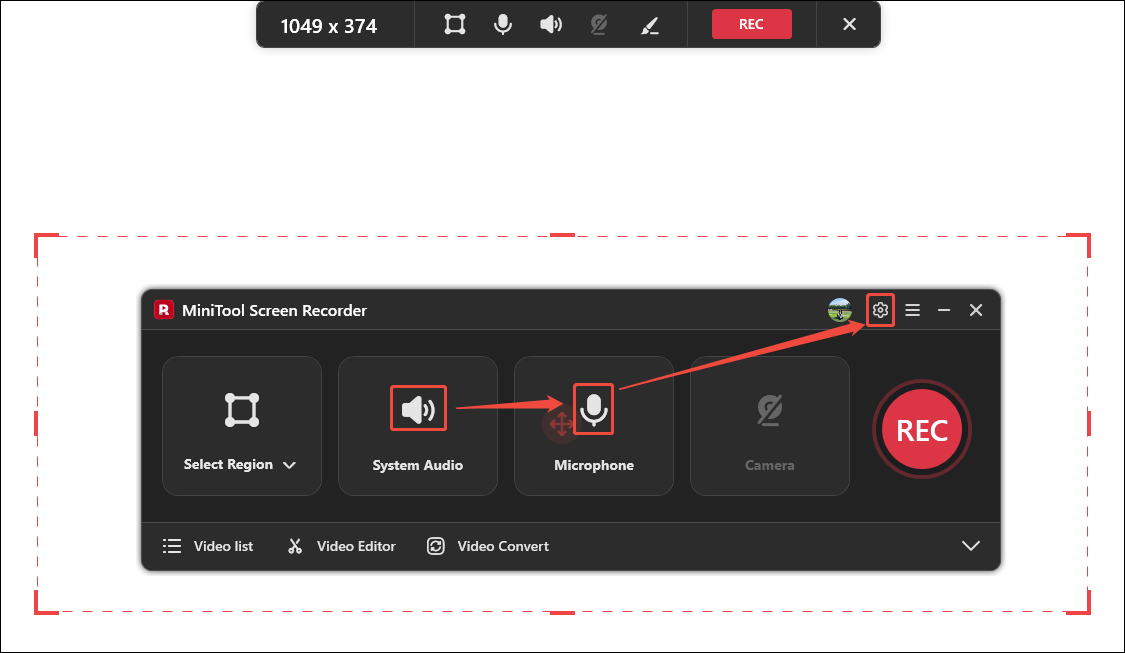
After running MiniTool Screen Recorder, sign in to this application. Expand the recording area option to choose a recording type. Here, I choose Select Region. Then, drag the red border to frame what you want to record.

Step 3. Complete Video and Audio Settings
Click on the System Audio icon and the Microphone icon to decide whether to record computer audio and voiceover. Then, click on the Gear icon to open the Settings window.
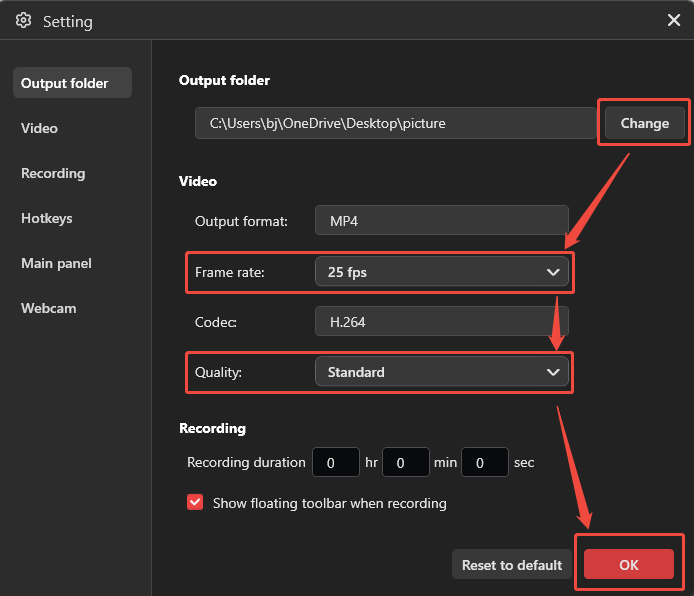
In the Settings window, click on the Change button to specify a save destination. Also, you can expand the Frame rate option or the Quality option to pick a proper frame rate or video quality. Then, click on the OK button to apply these changes.
Step 4. Start the Recording Process
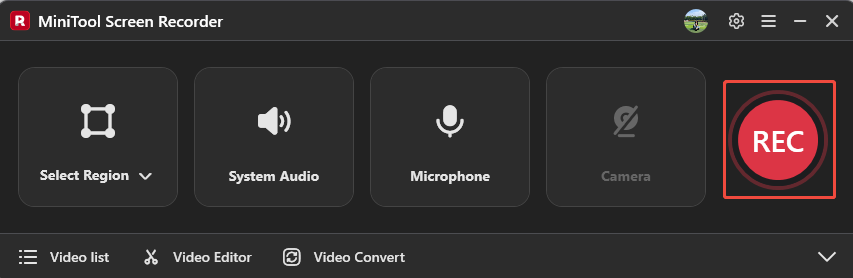
When the settings finish, this recorder will go back to the main interface. There, click on the REC button. After a 3-second countdown, the recording begins. Then, display the content you want to record on the screen.
Step 5. Record the Mouse Movements
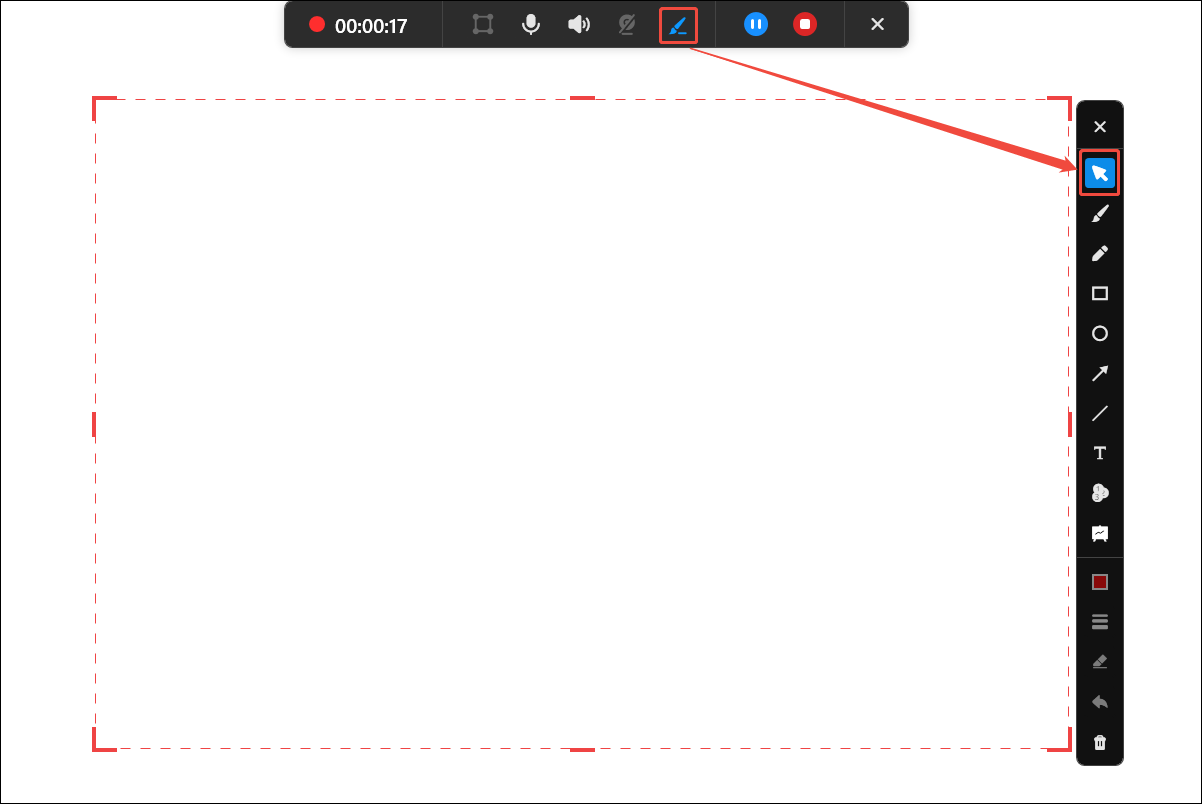
Click on the Brush icon in the floating toolbar to open the annotation toolbar. Here, keep the Cursor option turned on to record mouse movements. Additionally, you can use the brush, highlighter, line, shape, and whiteboard tools in the annotation toolbar.
Step 6. Stop the Recording
If you want to pause/resume recording, press the F9 key. Once you want to end this recording, click on the F6 key to stop this recording.
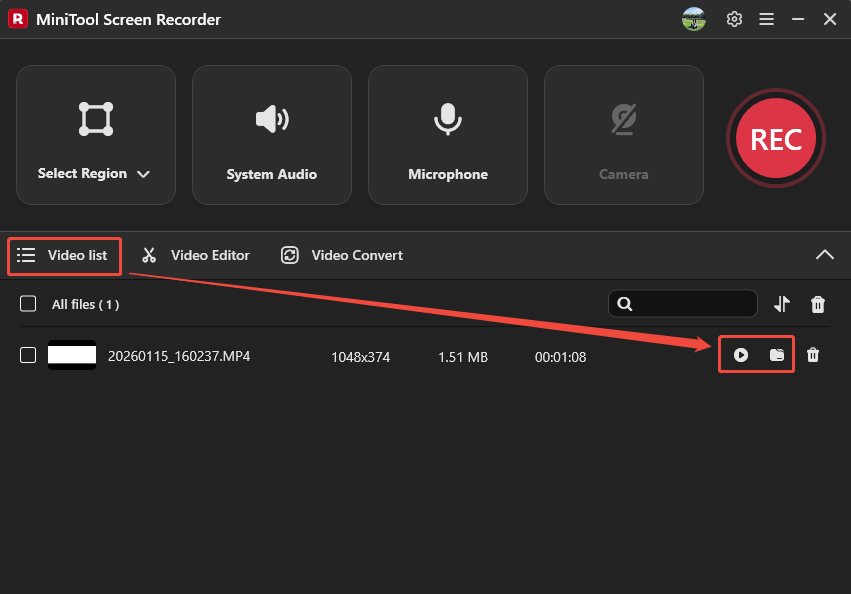
Step 7. Check and Locate the Recorded Video
The recorded video will appear in the Video list tab. Here, click on the Play icon and the Folder icon to view or locate it.
MiniTool Screen Recorder makes it more efficient to capture mouse movements. It doesn’t have ads or watermarks.
Tweet: MiniTool Screen Recorder is a great recorder to capture cursor in recording. Don’t hesitate to get it!
2. Use Movavi Screen Capture
Movavi Screen Capture is an online video recorder. It allows you to record mouse movements clearly. Furthermore, Movavi Screen Capture also supports recording the microphone and system sound. It is compatible with multiple browsers, including Firefox and Google Chrome.
Below is how to record mouse movement with online Movavi Screen Capture.
Step 1. Access Movavi Screen Capture’s Webpage
Visit https://www.screencapture.com/ to enter Movavi Screen Capture’s recording webpage.
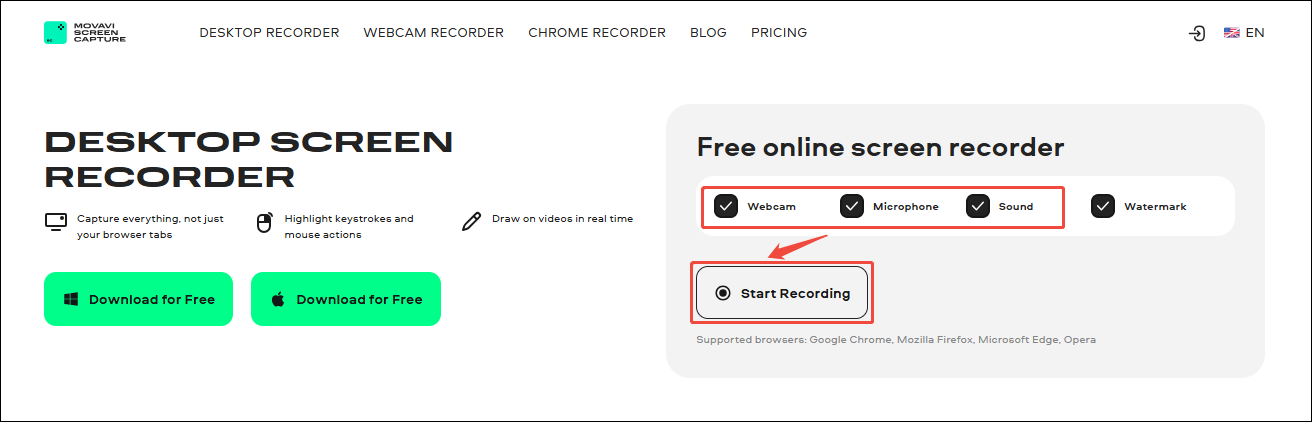
Step 2. Set Whether to Record Webcam and Audio.
Check or uncheck Webcam, Microphone, and Sound to determine what gets captured. Then, click on the Start Recording button to enter a window to choose the screen recording type.
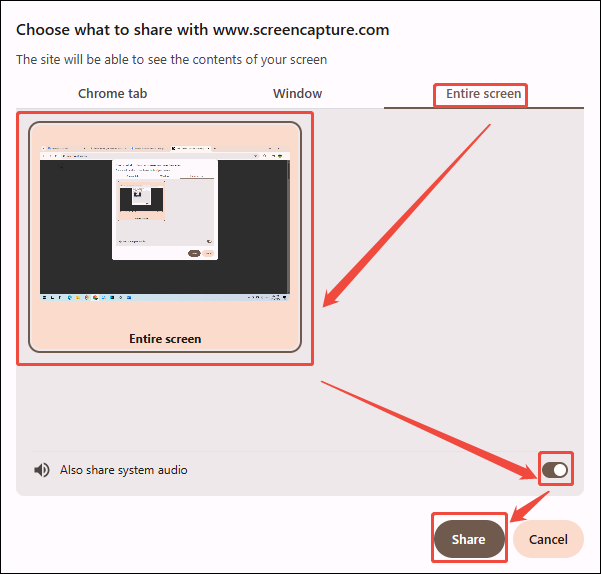
Step 3. Choose Recording Type and Start Recording
In this window, you can select a recording type according to your needs. Here, I choose the Entire screen tab and click on the Entire screen option. Next, turn on the Also share system audio option to launch the system sound. Then, click on the Share button to start recording and place the content you want to record on the screen.
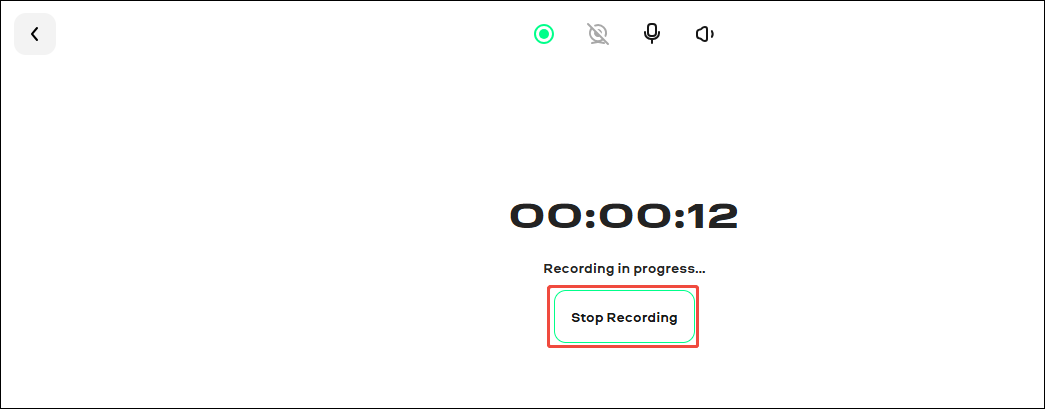
Step 4. End Recording
During the Recording, you can perform a series of mouse operations. Then, click on the Stop Recording button to end this recording.
Step 5. Check and Download the Recorded Video
Once the recording is finished, this online recording tool will redirect you to the download page. There, you can view the recorded video on this page. Or you can click on the Download button to save it.
Movavi Screen Capture is a convenient and quick mouse movement recorder. However, it’s worth noting that all the free recorded videos contain watermarks.
Final Words
This article shares how to record mouse movements with an offline and an online recorder: MiniTool Screen Recorder and Movavi Screen Capture.
If you want to do a professional recording of the mouse movements, choose MiniTool Screen Recorder. On condition that you urgently need to record a video, you can choose Movavi Screen Recorder. If you have any suggestions or questions about MiniTool Screen Recorder, please don't hesitate to contact us via email at support@minitool.com for a response. Or you can send me messages on X. I will reply to you as soon as possible.