Summary: This guide offers you the detailed steps to record webcams and the screen with MiniTool Screen Recorder. Also, it shows you how to use this application to capture the webcam only.
How to Record the Screen with a Webcam
Below are the detailed instructions on how to record video with webcam using MiniTool Screen Recorder.
Step 1. Download and Install MiniTool Screen Recorder
MiniTool Screen RecorderClick to Download100%Clean & Safe
Download MiniTool Screen Recorder by clicking on the download button above. Then, follow the on-screen prompts to install this screen recorder on your PC.
Step 2. Enable the Camera Recording Function
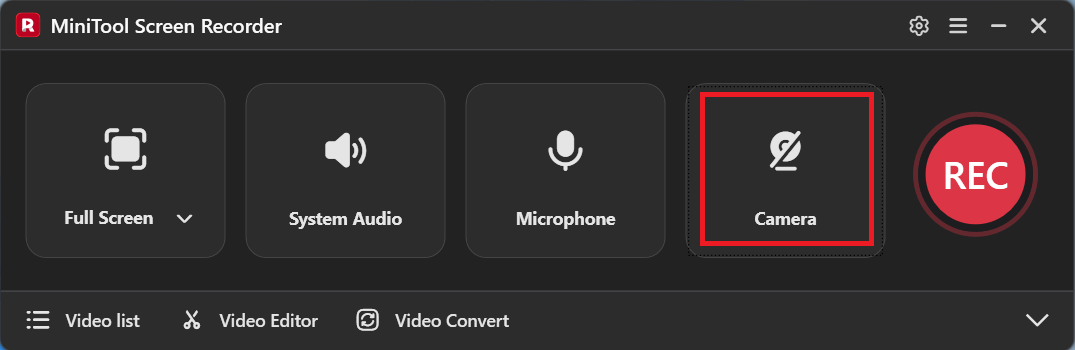
After launching MiniTool Screen Recorder, click on the Camera icon to activate the webcam pop-up.
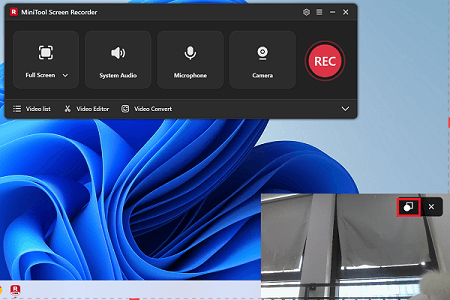
If you want to change the shape of the webcam area, click on the shape toggle icon at the upper right of the pop-up window.
Step 3. Specify the Webcam Recording Settings
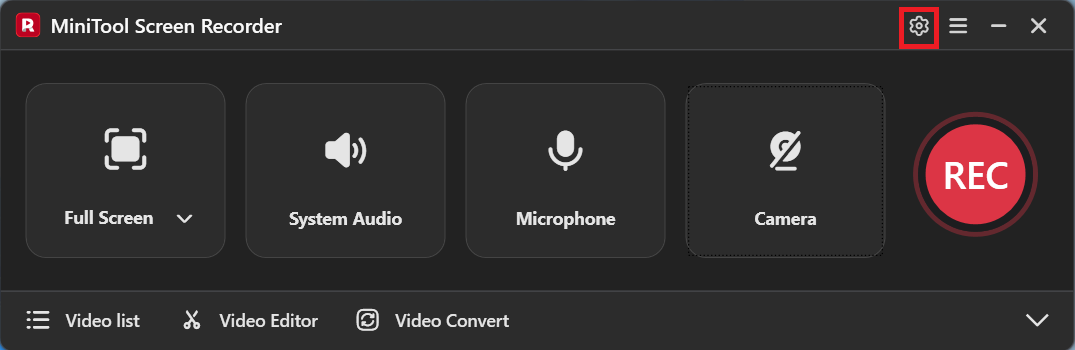
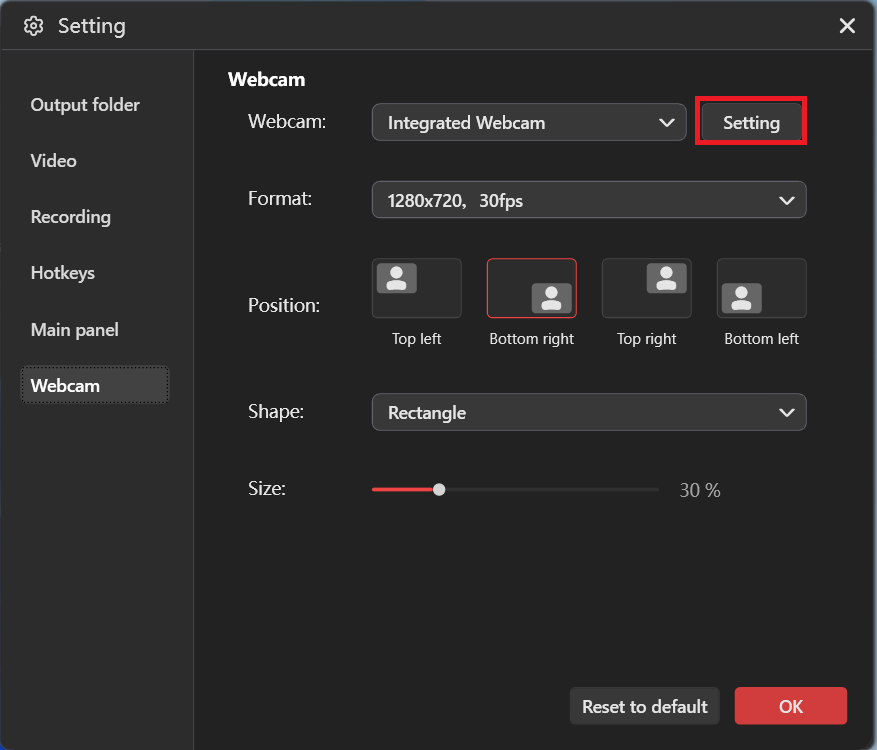
Click on the upper-right Settings icon to enter the Settings window.
In the Settings window, switch to the Webcam tab. There, you can expand the Webcam option to choose the camera you want to use for recording.
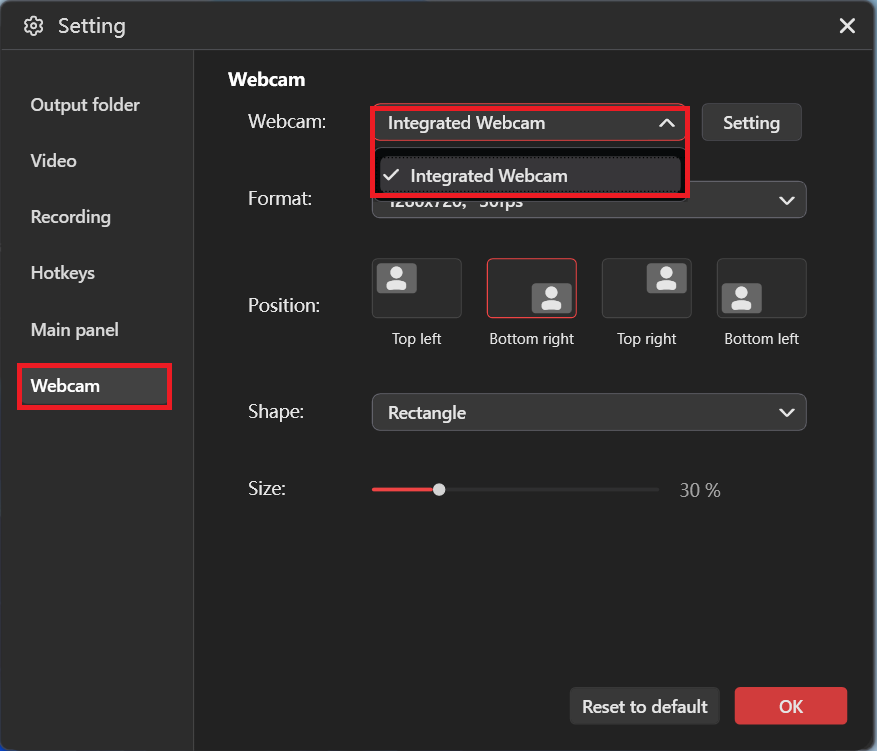
Click on the Setting option. Then, you can adjust the brightness, contrast, color, and other parameters of the webcam recording.
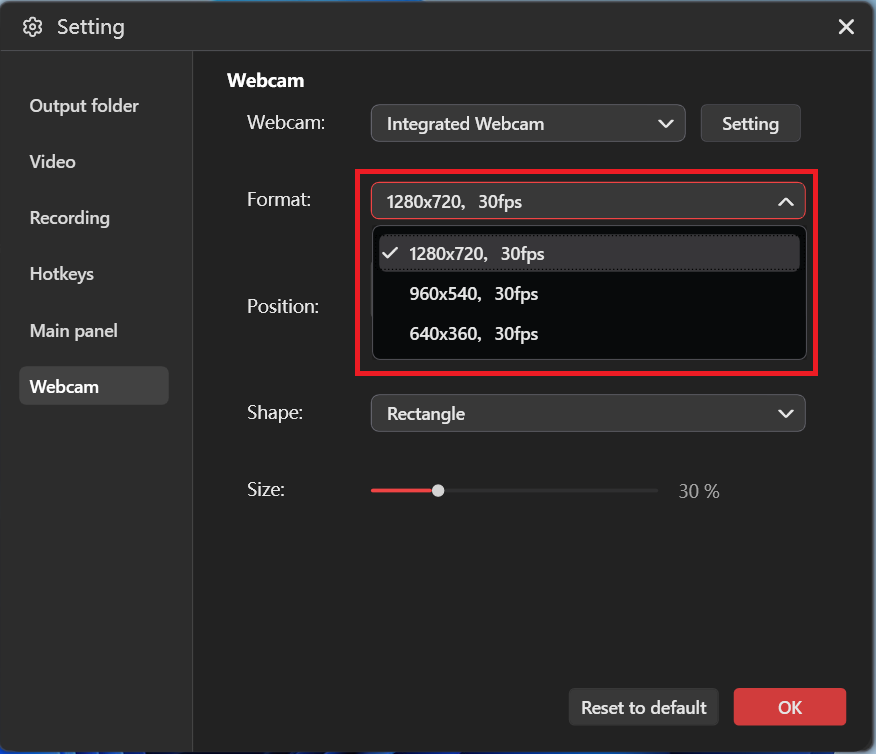
Expand the Format option. There, you can specify the resolution and frame rate of the webcam recording.
You are free to customize the position of the webcam pop-up (top right, bottom left, top left, and bottom right). Meanwhile, if you want a rectangle or circle webcam recording shape, expand the Shape option and pick the style you prefer.
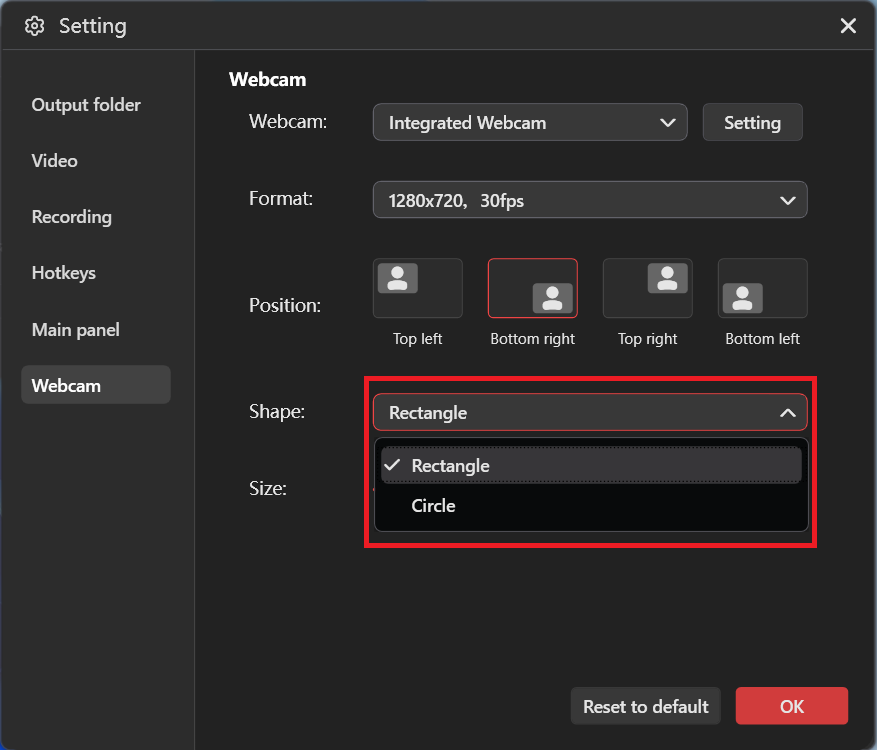
To adjust the size of the webcam recording area, just drag the slider leftwards or rightwards. Finally, click on the bottom-right OK button to apply the recording settings.

Step 4. Select the Recording Area and Manage the Audio Recording
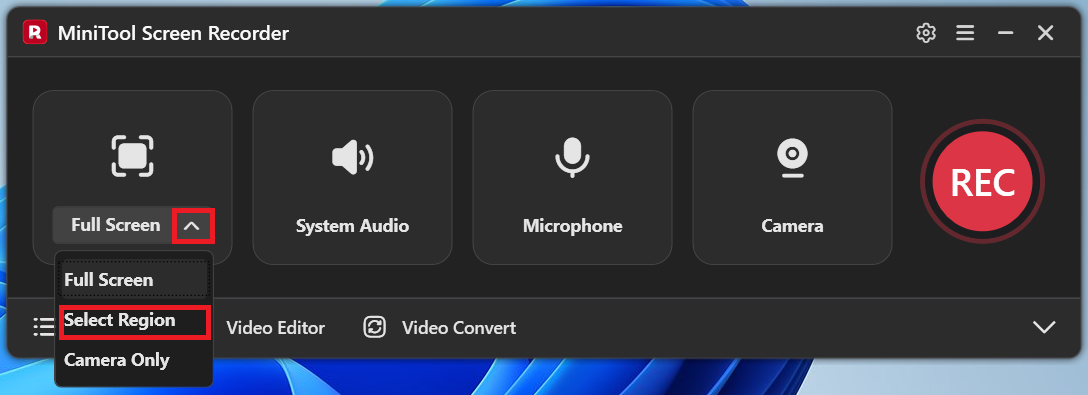
By default, MiniTool Screen Recorder will adopt a full-screen recording mode. If you want to customize the recording area, expand the recording area option and choose Select Region.
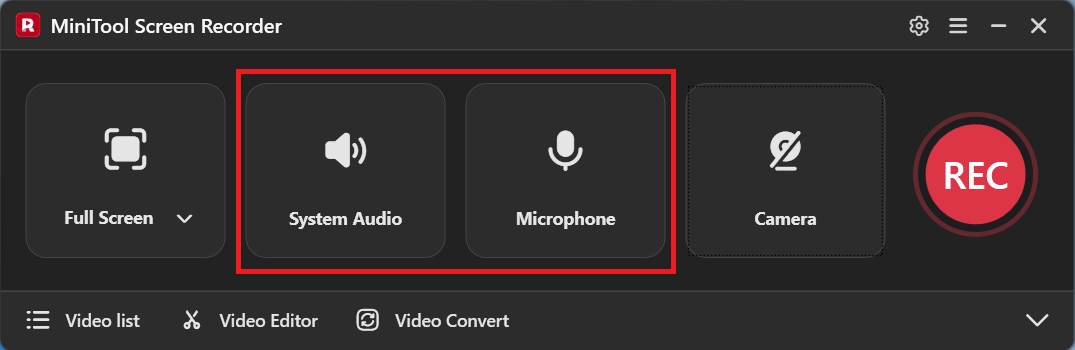
Click on the System Audio icon and the Microphone icon to turn on/off the system and microphone sounds.
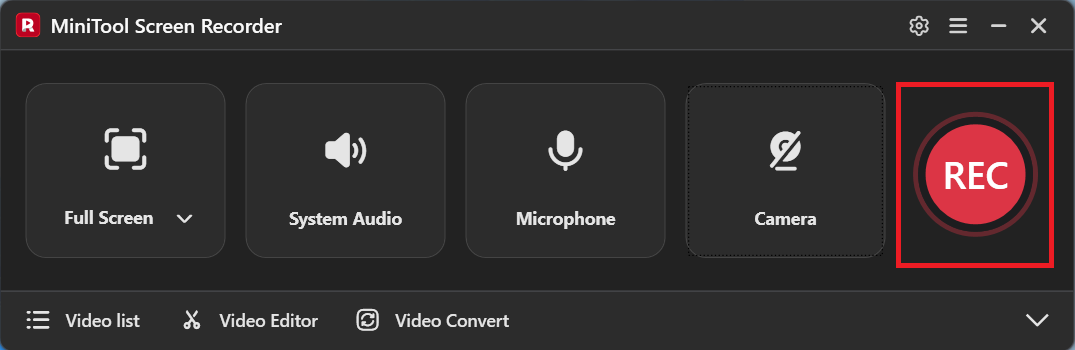
Step 5. Start/End Recording
Click on the REC button. After a 3-second countdown, the recording process will begin. When the recording process completes, press the F6 key to end it.
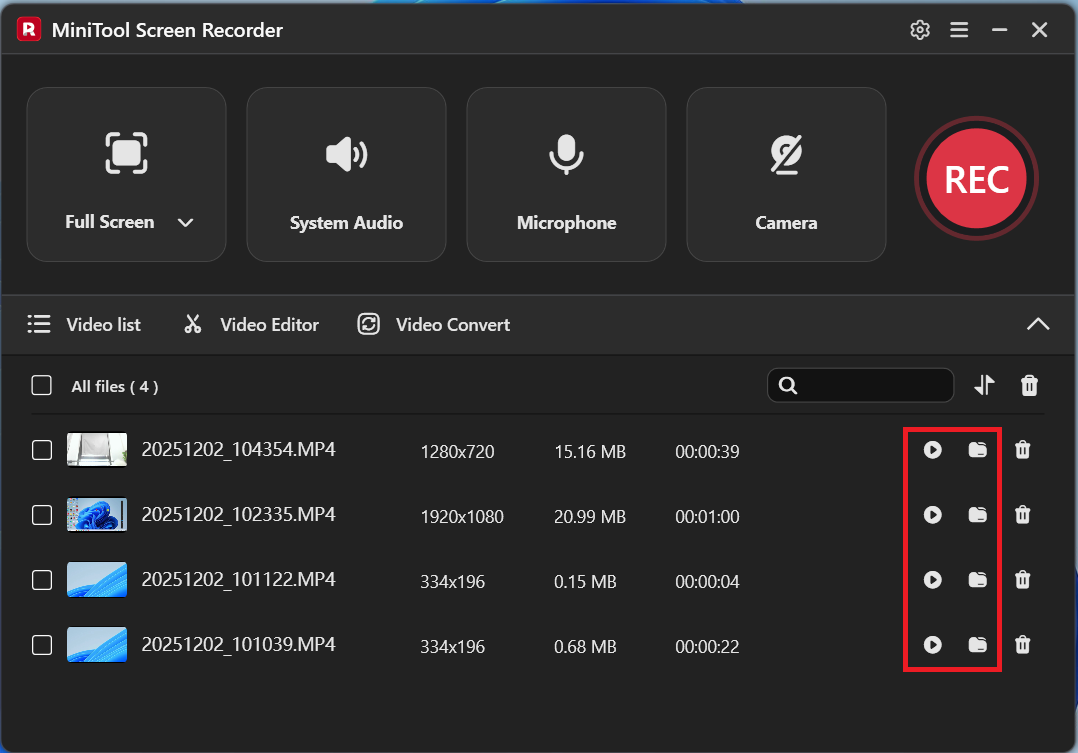
Step 6. Check the Recorded Videos
In the file list, click on the Play icon to view the recorded files. If you want to locate them, click on the Folder icon.
With the above-detailed steps, you can grasp how to record screen and webcam at the same time.
How to Record a Webcam Only
To record a webcam only, follow these steps below.
MiniTool Screen RecorderClick to Download100%Clean & Safe
Step 1. Choose the Recording Area
After downloading and launching MiniTool Screen Recorder, expand the recording area option and choose Camera Only.

Step 2. Configure the Webcam Recording Settings
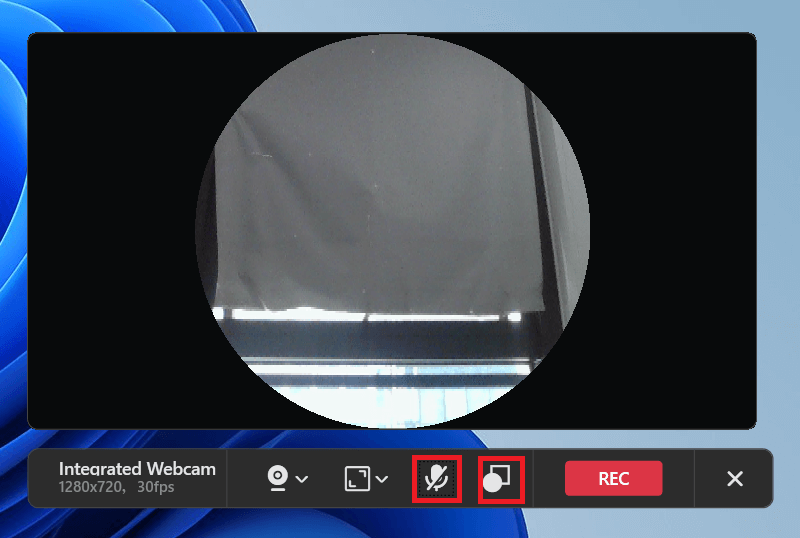
In the toolbar below the webcam area, click on the Webcam icon to choose the webcam that you want to use for recording.
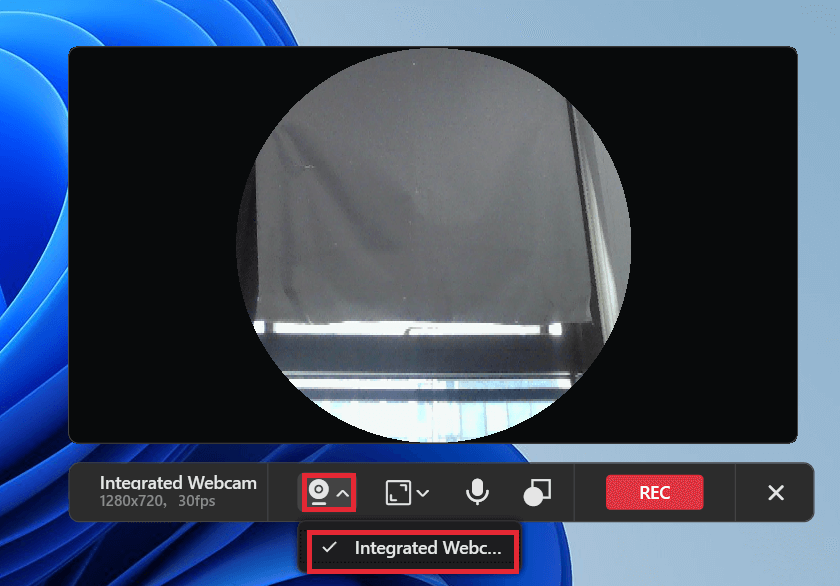
Click on the Square icon to expand the drop-down list. There, you can specify the resolution and frame rate of webcam recording.

To turn on/off the microphone audio, click on the Microphone icon. If you want to change the shape of the webcam recording area, click on the shape toggle icon on the right of the Microphone icon.
Step 3. Start/Pause/End Recording
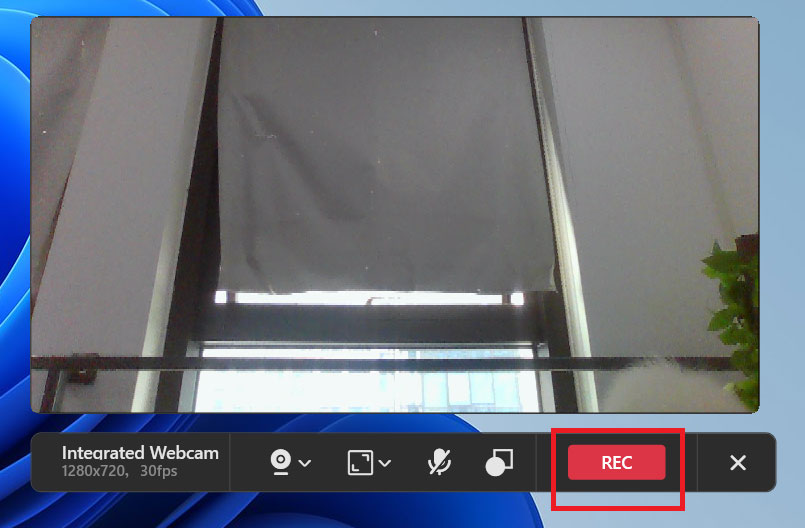
Click on the REC button. After a 3-second countdown, the webcam record will begin.
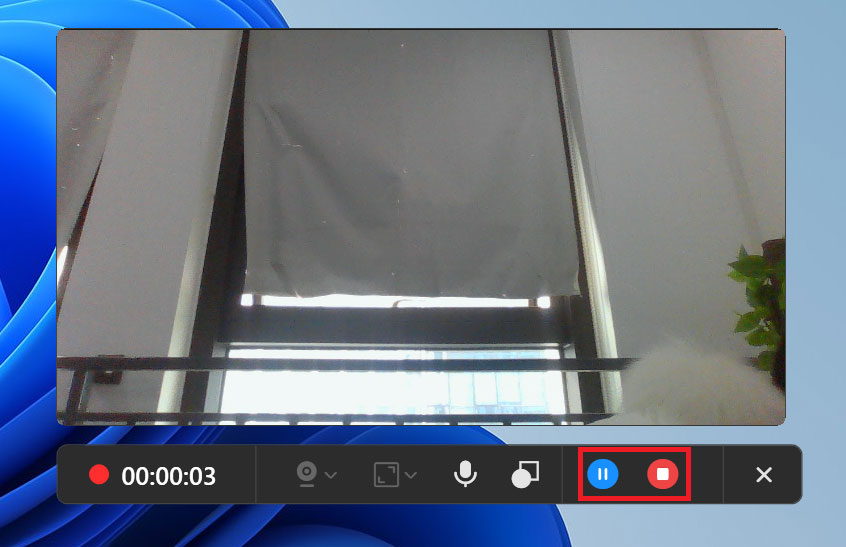
To pause/resume the recording, click on the Pause icon. If you want to end the recording, click on the Stop icon.
Undoubtedly, MiniTool Screen Recorder is a can’t-miss application. More than a tool that helps you record the screen, this program also enables you to annotate the screen easily and quickly.